
Rustic DIY Lantern with Dollar Tree Frames!
I made this project last spring and it still is one of my favorite DIYs! Who knew you could make such a gorgeous lantern for a couple of dollars and some paint?!
Materials Needed for this Project:
5 Dollar Tree Frames (or frames of your choice)
Gilding Paint
Gold Spray paint
White craft paint
Glue sticks
Balsa Wood
Spanish Moss (or reindeer moss if you don't want to paint the moss)
Craft Paint (Yellow, Green, Brown)
Tools Needed for this Project:
Needle Nose Pliers
Paint Brush
Painter's Tape
Ruler
Pencil
Hot glue gun
Sponge Brush
Glass Cutter
Instructions:
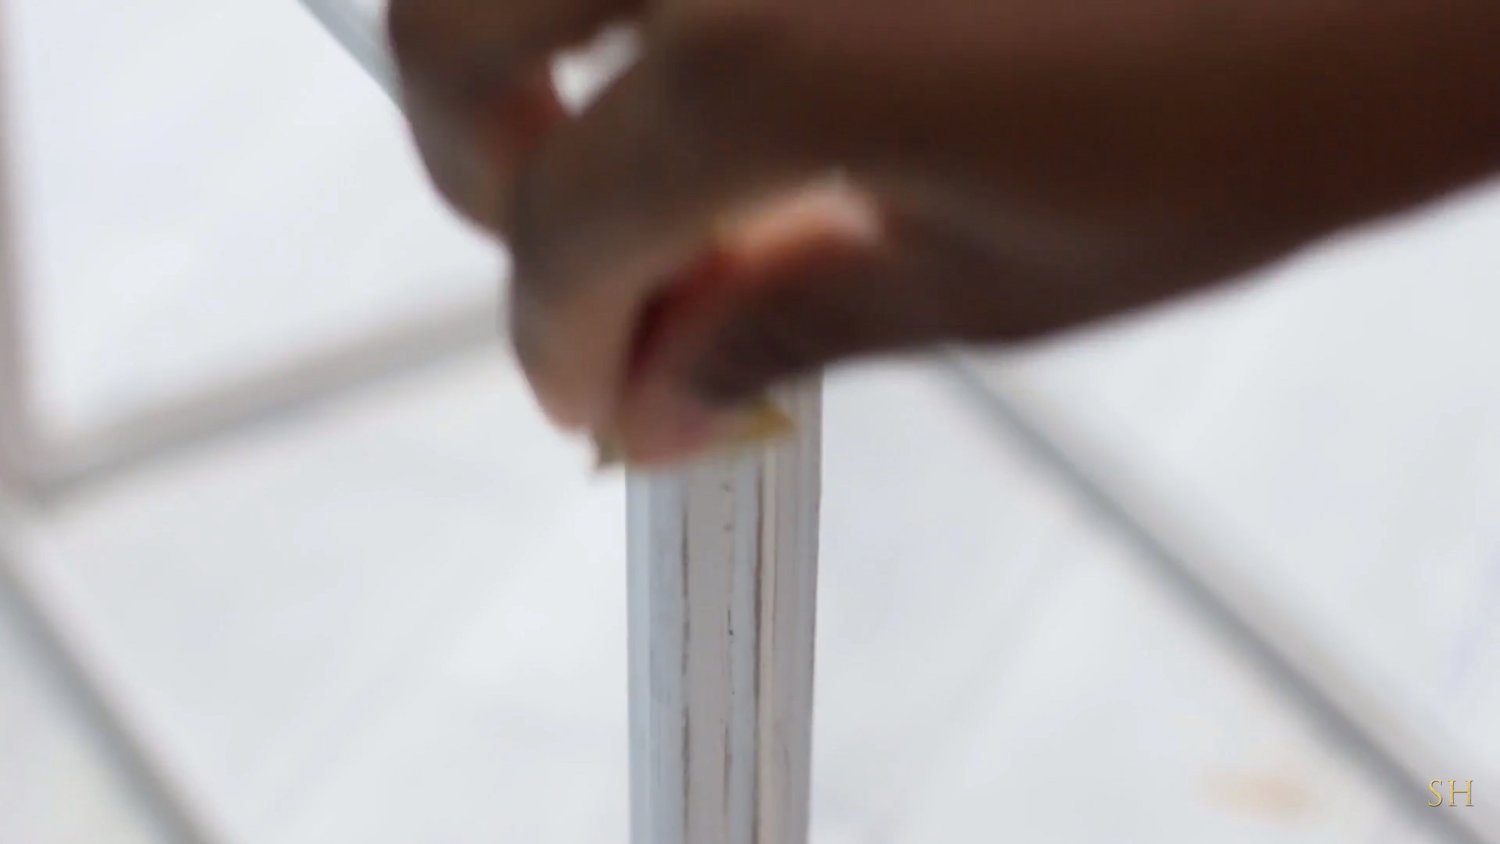
To make this lantern, take a dollar tree frame, remove the back and glass and begin disassembling by removing 3 corners. I also suggest removing all the staples & the black tabs with the needle nose pliers - this will just make sure you won't see it in the final product.
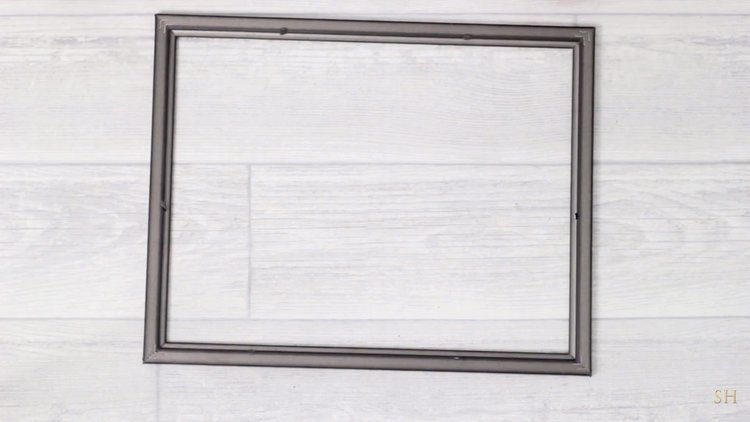

Measure out the size you want your lantern to be and cut the frame down to the appropriate size. Since the edges are likely jagged, sand them down to make it smooth. The size of my frame is 6" x 8" on the smaller side and 8" x 10" on the large sides.
Glue the corners together with hot glue and repeat to make a second frame.


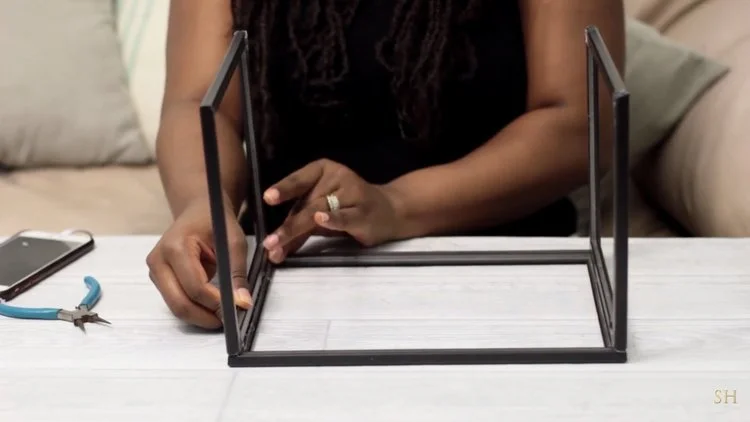
Take another frame, remove all the tabs and glue down the frames (with hot glue) that you just created on either side. With another frame, remove the tabs and glue to create a complete the rectangle.

Next, I measured how tall I wanted it, cut another frame down to the size I wanted, and glued it down like you see here. Be sure to hold the sides down while the glue is drying so it doesn't move around too much.

Repeat on the other side then measure the distance between the two triangles for the center stick.
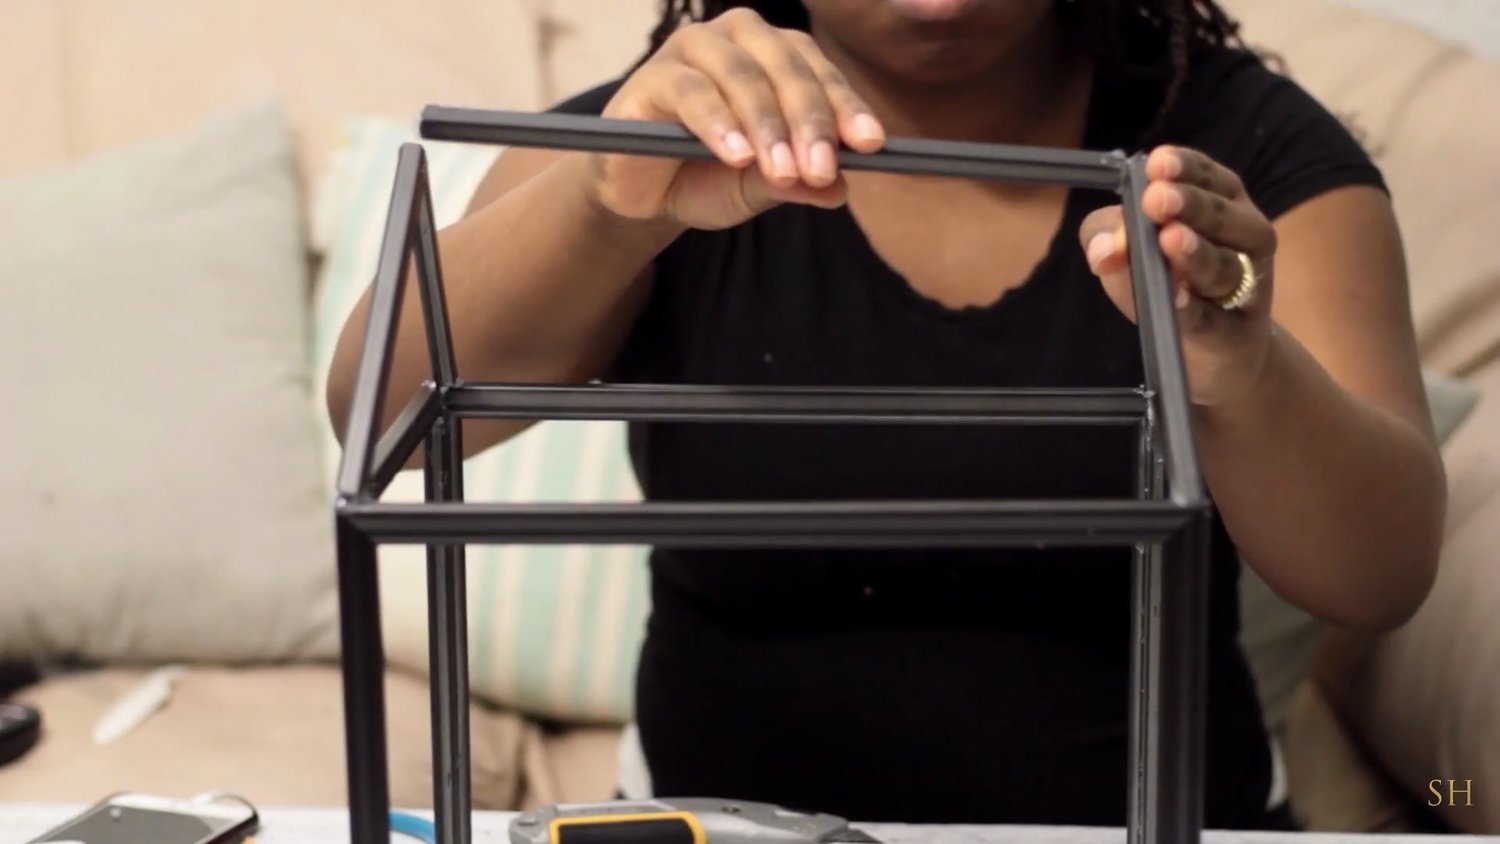
I then took some scrap balsa wood I had, cut it down into thin strips, and glued it to the top, center on both sides. Be sure to cut out extra as we’ll need this toward the end of the project.

Spray paint the lantern gold and once it’s dry, add a thin layer of white to the entire project. Set it aside to dry.

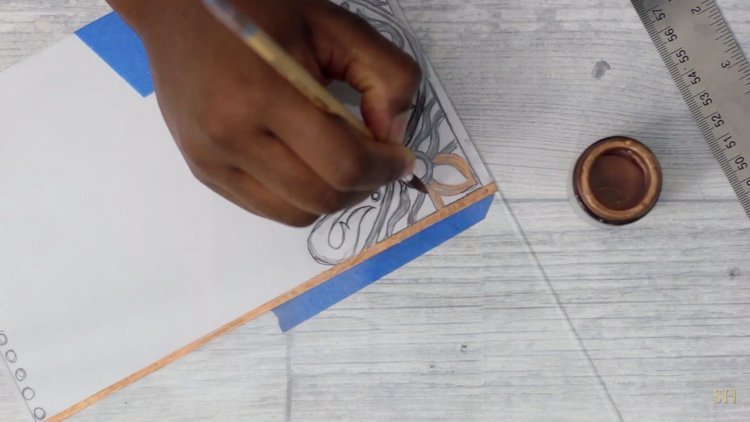
I want a nice design on the sides of the frames so I drew what you see here. This drawing will be enough for two on a single uncut glass. The dividing line isn’t too straight so I took a ruler and painter’s tape and isolated the center
Take some gliding paint and paint between the tape. Remove it immediately and clean up any bleeds with some nail polish remover.


Once the divider is dry, begin painting the rest of the design onto the glass. I used the dotting technique i showed in this video to make the dots you see in the design.

For the shorter frames, cut it down to size and place the design in the center. Overlap the edge of the paper design with the edge on the glass design to extend the edges.
Want to know how to cut glass? Watch this video!
Go back to the lantern and start sanding very LIGHTLY. we don’t want to remove too much of the paint since we just want the gold
When you’re happy with the way it looks, place the lantern on the side and begin adding some hot glue to the sides. Once you’re done, add the glass and press down gently. Repeat this on the rest of the sides. Set it aside and begin working on the base.

I took some more balsa wood, glued two pieces together and, and glued some moss onto it. I then stippled on some green then added this green, yellow, and brown mixture to add some depth and yellow to add a bit of highlight.


Remember the small balsa wood pieces we cut earlier? now we need it! Be sure it’s distressed like the rest of the lantern, cut it to size and glue it onto the center of the frame

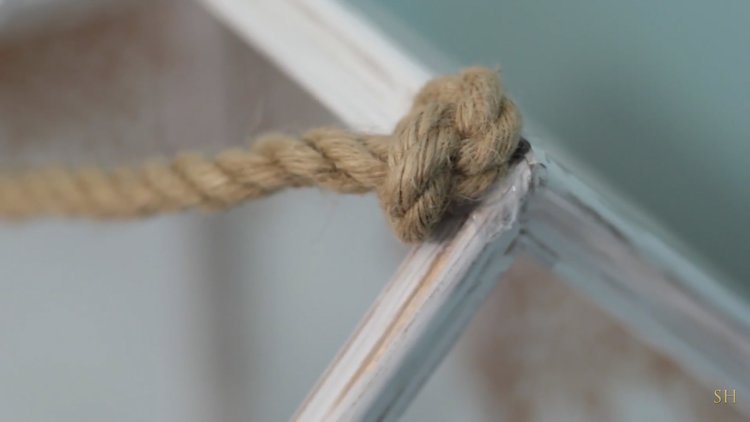
To finish off the lantern, tie a knot on either side of rope and glue it to hide the seams on top of the triangle. You'll also want to glued down the base (with the moss) to the bottom of the lantern to secure it in place.


Decorate it to your liking and you’re done!! How cute is this?! I LOVE how it came out!! Want to see exactly how I made this? Watch the tutorial below :)