
DIY Desk Calendar


DIY Desk Calendar
Having a desk calendar is something I’ve been wanting to create but kept putting off - because let’s face it, we have a habit of checking our phones for the date or asking Alexa.. well at least I can say I am guilty of these things! This year I want to connect with the things around me more, which means less time constantly checking my phone and figured this would be a great DIY to help me with my compulsive phone checking!
Of course I can grab something from the dollar store or target but as a DIYer, I wanted something truly customized and aesthetically pleasing which is why I decided to design and create my own unique calendar! If you’re diggin’ this calendar, I’ve gone ahead and uploaded the template for you guys to create your own!! Check out the links below and let’s get started!
Materials needed for this project:
1” Wood Cut To 6”x 8”
1”x2” (or 1”x3”) Cut To 8”
Acrylic Sheet (thinnest available at the hardware store) Cut To Twelve 1.5”x6.5” Pieces
Elastic Band
White, Black, and Colored Paint (Your Choice)
Regular Paper for making Template (or download and print out the one provided below)
Color Vinyl Adhesive (Your Choice), and Transfer Tape
-OR-
Numbers and Letter Stickers from your local Craft Store
Tools needed for this project:
Ruler
Pencil
Scissors
Staple gun with Staples
Drill with Drill Bits
Brad Nailer with Nails
Printer (if using template provided)
Instructions:

The first thing you’ll need to do is make a template with paper. I found that this calendar was much easier to make because of this template. Writing down all of the measurements directly on the template helps as well.
Want to use the one I created for this post? Download it here:

PDF download for DIY desk calendar. Print two copies and follow the blog post: simplyhandmadestudios.com/blog/diy-desk-calendar

To start, I cut out the main wood block down to the size I wanted, then painted it white. I set the wood aside to dry then moved onto the base.

To make the base, I wanted a dark stain (which I didn’t have on hand) so I cut the 1”x3” down to the size I wanted, diluted some black paint in water then painted a few layers on the wood until I got the color payoff I wanted.
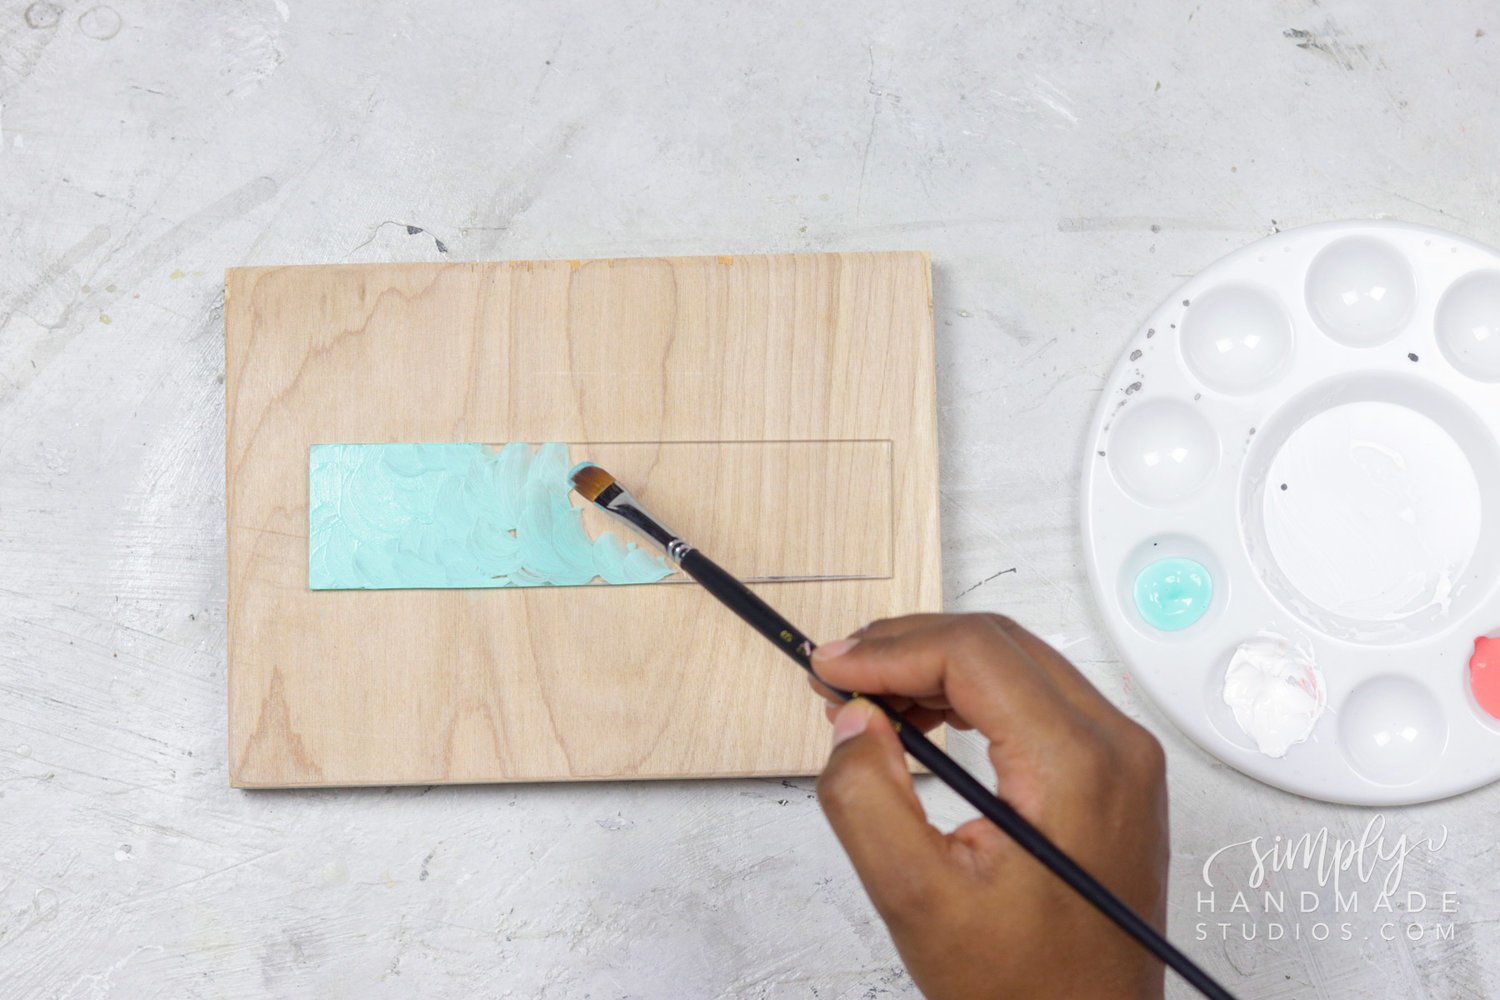
Next, I cut down acrylic(learn how to cut acrylic in this blog post) then painted an ombre color pattern and when I was happy with the way it looked, I set it aside to dry.
To make the numbers, I used this rubber cement and coated the white kraft board and mounted it on the black craft board. Next, using my template, I punched out the hole then added the custom numbers I made with my cricut to each of the squares. You’ll need the following numbers: (2) 0’s, (2) 1’s, (2) 2’s, (2) 3’s, and (1) 4, 5, 6, 7, 8, and 9. I recommend printing a few extra squares just in case you mess up!
I have all of the templates on my Pinterest board! Click here to access all of the templates.

Once the acrylic paint dried, I sealed the color in with clear acrylic spray and let it dry. Once dried, I added the months on using the stencil I made with the Cricut.


Next, I placed the template on top of the acrylic and drilled holes on each side.


I went ahead and placed the template on the wood and traced where the holes should be drilled for the numbers. I nailed in small gold nails on the front to hold the months, and flipped the wood and stapled elastic on the back to hold the acrylic months that are not in use. Who doesn’t love built in storage?!
Bonus tip: You can add an extra cup hook to the back to hold the numbers in place as well! Not needed but it’s a nice-to-have feature on this DIY Desk Calendar!
After I secured the elastic to the back, I added these cup hooks to the front then moved onto the base.

I found the center of the base, added some wood glue, and taped the main wood onto the base. I flipped the calendar then secured it with some brad nails. Wipe away any excess glue and you’re done!
I hope this post inspired you to create your very own desk calendar! There are endless ways you could go about customizing this piece!