
DIY Rustic Mantel or Shelf (Simple Pallet Furniture)

DIY Rustic Mantel or Shelf (Simple Pallet Furniture)
As long as I can remember, I wanted a mantle in my house. With this entryway remodel and some scrap wood (and hooks) I finally made that dream into a reality. Although this mantle isn't attached to a fireplace, it is attached to hooks that is SO needed in my entryway right about now. If you have some scrap wood (or not) this project is totally for you. Before we get started.. just a little fun fact: The pallet wood is the same wood I made my barn doors with! The 1x3 is also left over from the storage unit! haha. Don't let any wood go to waste, people!! Ok now, let's get started.
Materials Needed for this Project:
Wood (1x2, 1x3, 2x4 from the store or from pallets like mine)
Anchors & Anchor Screws (if not screwing into the studs)
Paint (your choice)
Paint Brush
Pencil
Instructions:

I took a 2x4 from leftover pallet wood and drilled a few pocket holes with a kreg jig. I made sure I adjusted the bit and the actual jig to match the width of the wood.
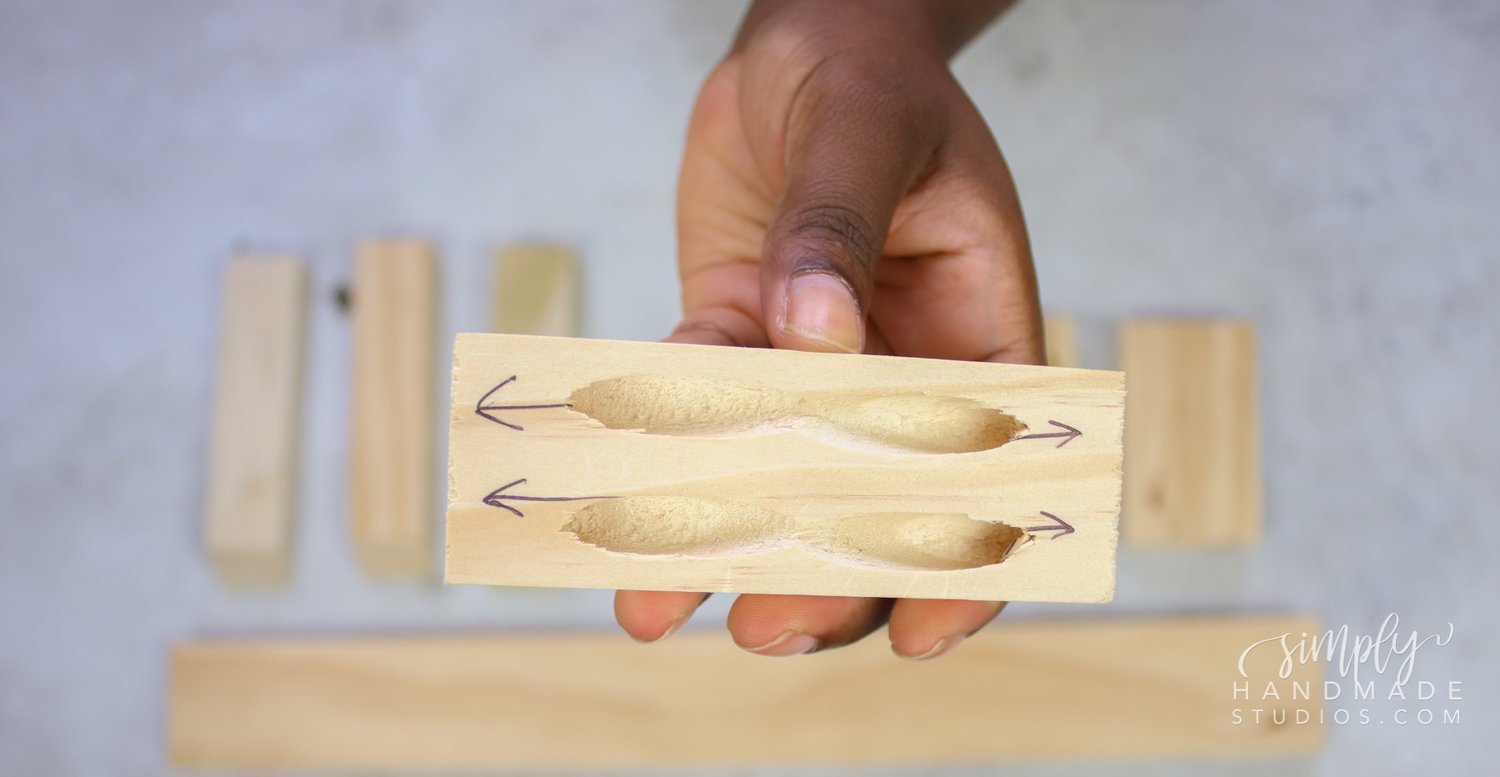
I cut down the 1x2’s and 1x3’s to these exact measurements:
- 1z2's: 3 cut to 4.5-inches
- 1x3: I have two pieces here, but ideally you will have a single piece cut down to 20-inches
- 1x2's: 3 cut to 6-inches (or the width of the pallet wood) with a 45-degree angle in front. The 45 degree angle is strictly decorative and isn't totally needed.

As mentioned above, I'd ideally I would have a single piece of 1x3, but I didn’t so I joined these two parts together with pocket screws.
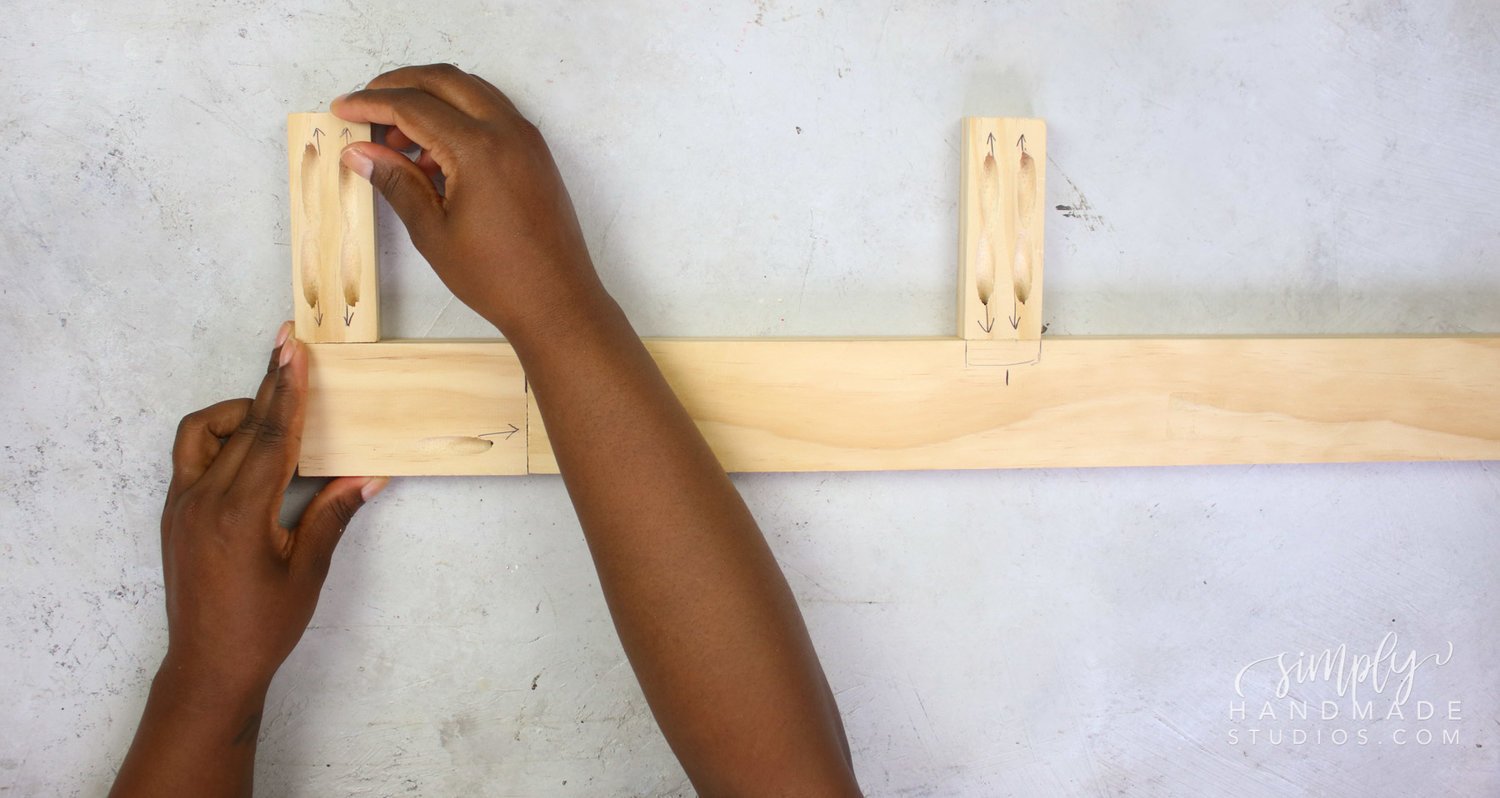
I found the middle of the 1x3’s and added the 1x2’s to the middle and ends of the boards. Be sure to join the wood with all the pocket holes facing the same direction. We will make this the back so the front is nice and smooth.

I added some wood glue to the 1x2’s, clamped it to the main board and screwed it in place.
I took the 1x2’s I cut with a 45 degree angle which is the same length of the top mantle piece and attached it onto the wood.

I patched up the wood with some filler and sanded it down off camera.

I attached the mantle with pocket screws then added a coat of polyurethane to seal it.

While the pallet was drying, I painted the main wood part with white paint then when that was dry, I nailed it into place with a brad nailer, making sure the back of the lower part of the mantle was lined up to the back of the shelf piece.
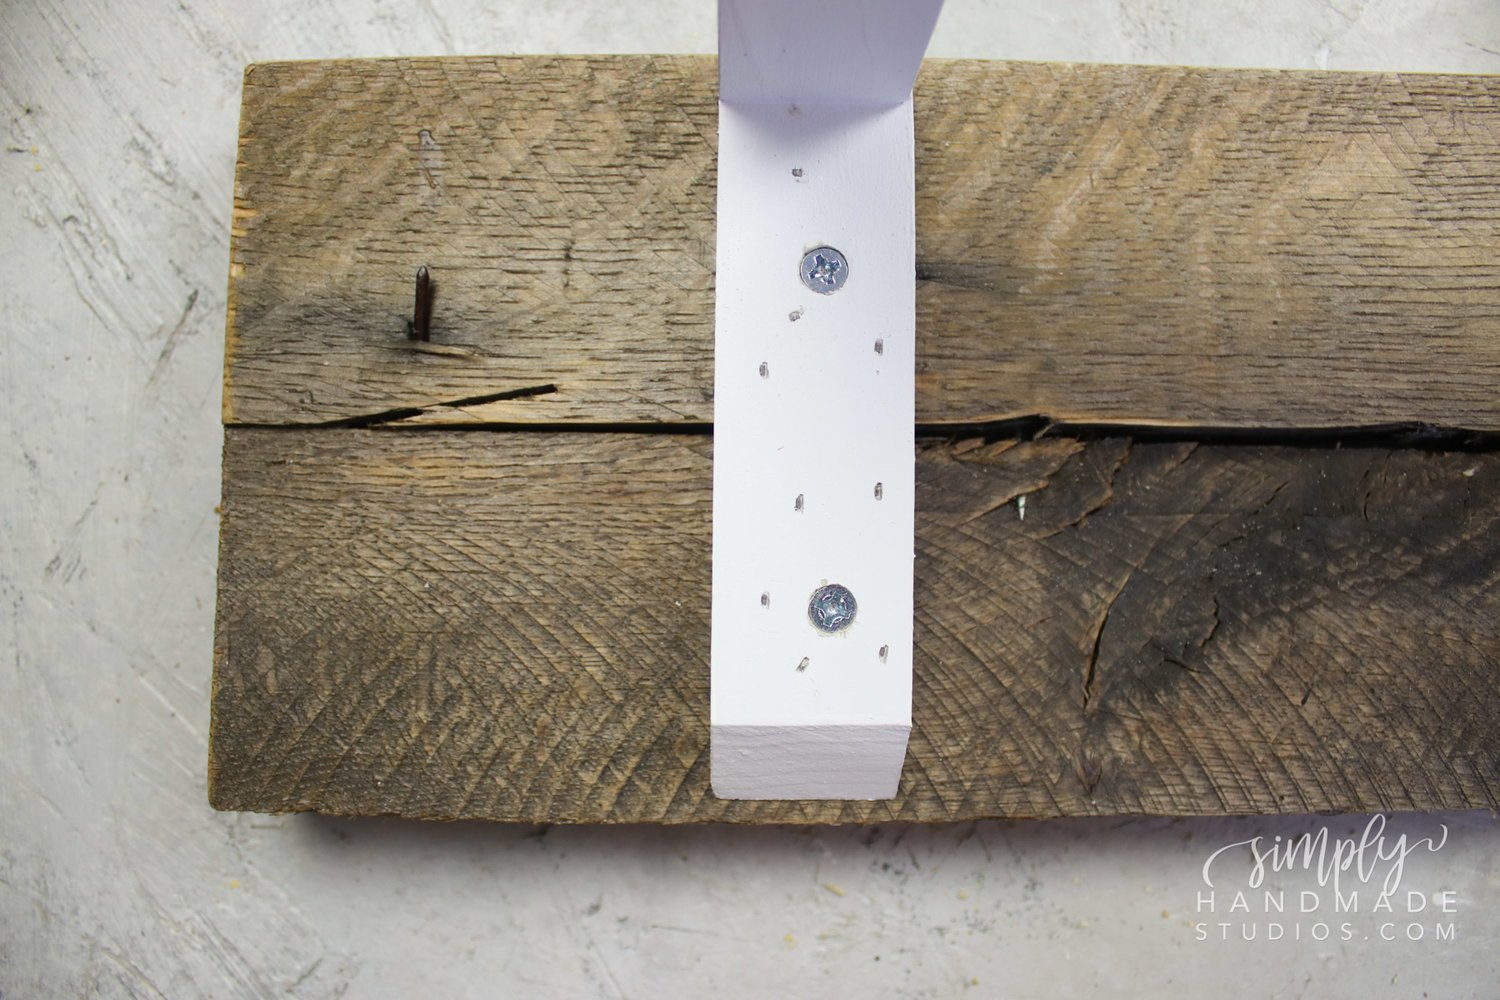
I used a drill bit then a counter sink bit and screwed in some wood screws. I wanted to make sure this was super secure so I kinda went crazy with the nails as you can see here lol

I marked up where I’ll be putting the anchor screws and the hooks on the mantle. I made sure I was placing the bottom screws where it wold be covered with the hooks. I then went ahead and placed it on the wall.

I leveled, grabbed some coats to make sure it was the right height, leveled again and finally drilled in the drill bits for the anchor screws.

I took off the mantle then drilled in the anchor holes again and hammered in the anchors to the wall.

Once the mantle was nice and secured to the wall, I added the hooks and decorated to my heart's content!

Look at that GORGEOUS piece of wood!! Gahh!!

PS: I added a hook last minute for the keys!

Also don't mind the stock photos in the frames lol. Next week I'll be doing a "decorate my mantle with me" so the photos will be replaced then :)

I hope this inspires you to grab that scrap wood and get to building! Let me know what you think of this project in the comments! Would you make this?
