
How to Build a Storage Cabinet in 7 Steps
Don't forget to check out the video tutorial on how I built this!

This is a digital download of a complete list of materials and exclusive tips for building a storage cabinet. A download link will be sent to the email provided. Please note: This is a guide for the cabinet only! NOT the doors.
If you would like to learn how to make the doors, visit the “How to build barn doors” blog post.
I've put together a complete list of tools, materials and exclusive tips for this build! Interested? Fill out the form for an instant download of the PDF.
Difficulty: Intermediate
Cost: $$$
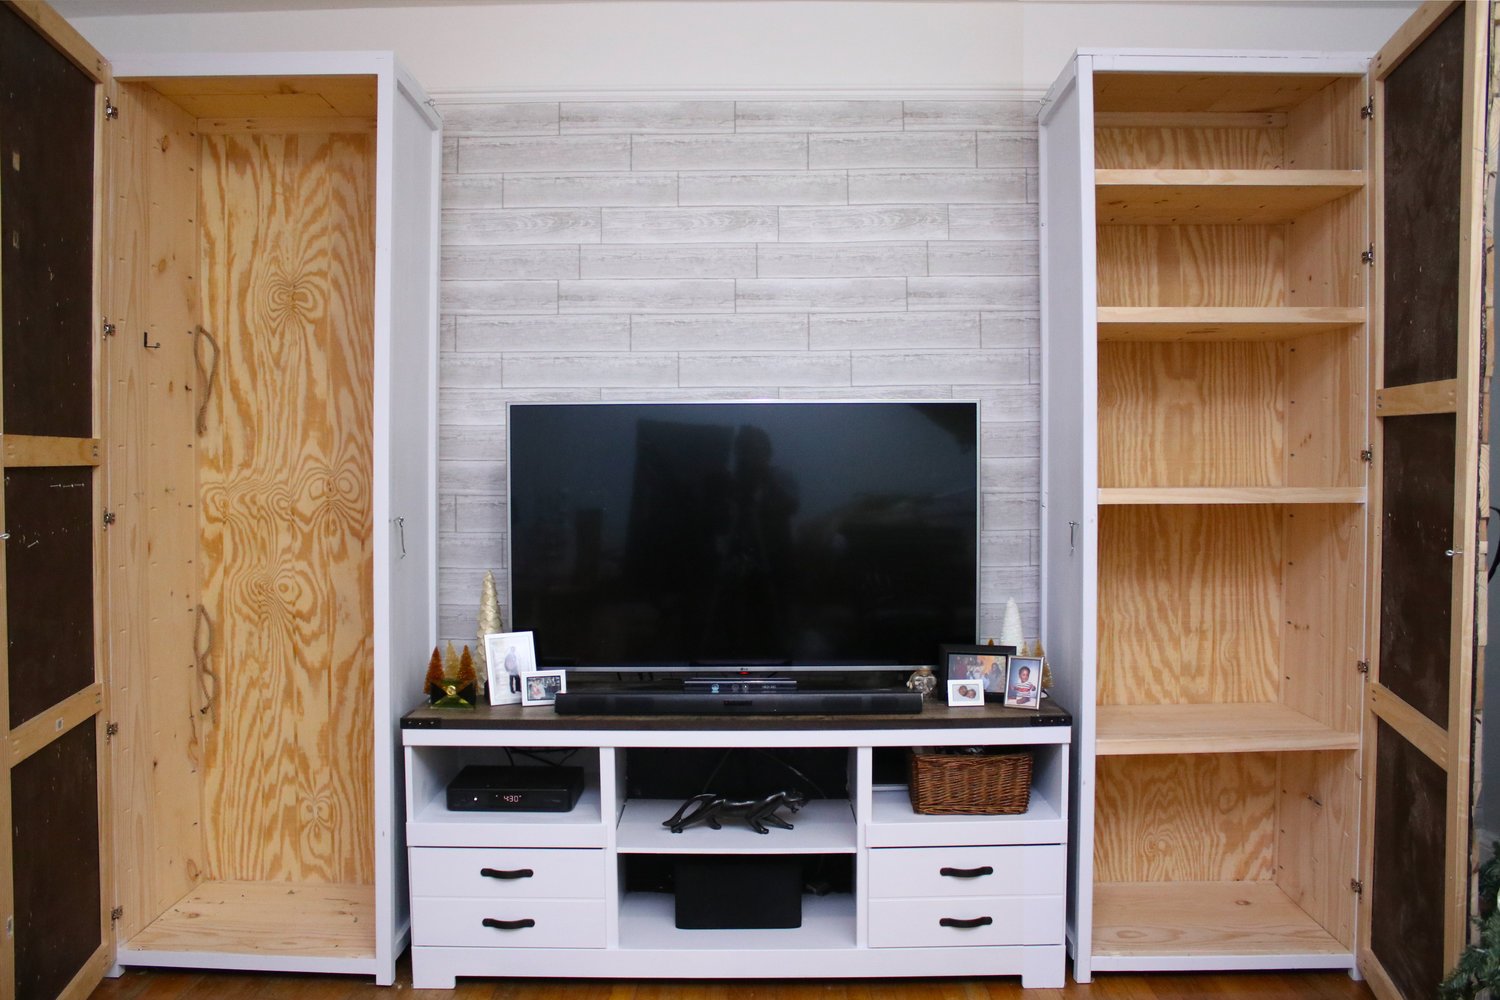
Just a little back story before we get into this project.. I'm crazy... no, no, not the insane type - just the "I have to purge, and clean, and redecorate, and take on huge projects two weeks before Christmas" kinda crazy. You can ask my hubby - every year, around the same time I get this itch for changing things up and I end up running around last minute getting things "together" for Christmas.
Of course, December 2017 rolls around and that oh so familiar itch is back. This time around I was tired of seeing my DIYs all over my living room, seeing our massive A/C unit in the corner and our gigantic printer in plain sight so (thanks to that itch) I googled ways to build storage. Since I don't have much closet space in my apartment I decided to take on a huge build because.. of course I can do it in a weekend since I literally never built furniture ever in my life.. yep that's the itch talking, and of course I agreed.
I found these plans on ana-white's website and although it was for a bookshelf, I knew it would be a perfect first-time build for my storage unit! I also follow @diyhuntress on Instagram who gave me motivation to build this!! If you don't follow her, it's a must. This post will focus on the cabinet itself, and the next post will focus on the swoon-worthy doors! Enough storytelling, let's get building!
Instructions
First up, you'll need to determine exactly how large you want your build. I took Ana Whit'e's plans and catered it to the height, width, and depth of what needed to fit inside. Of course you can use my dimensions (or hers) but you'll need to make sure it will fit in the space correctly so measure twice!
Step 1: Making the Side Panels:
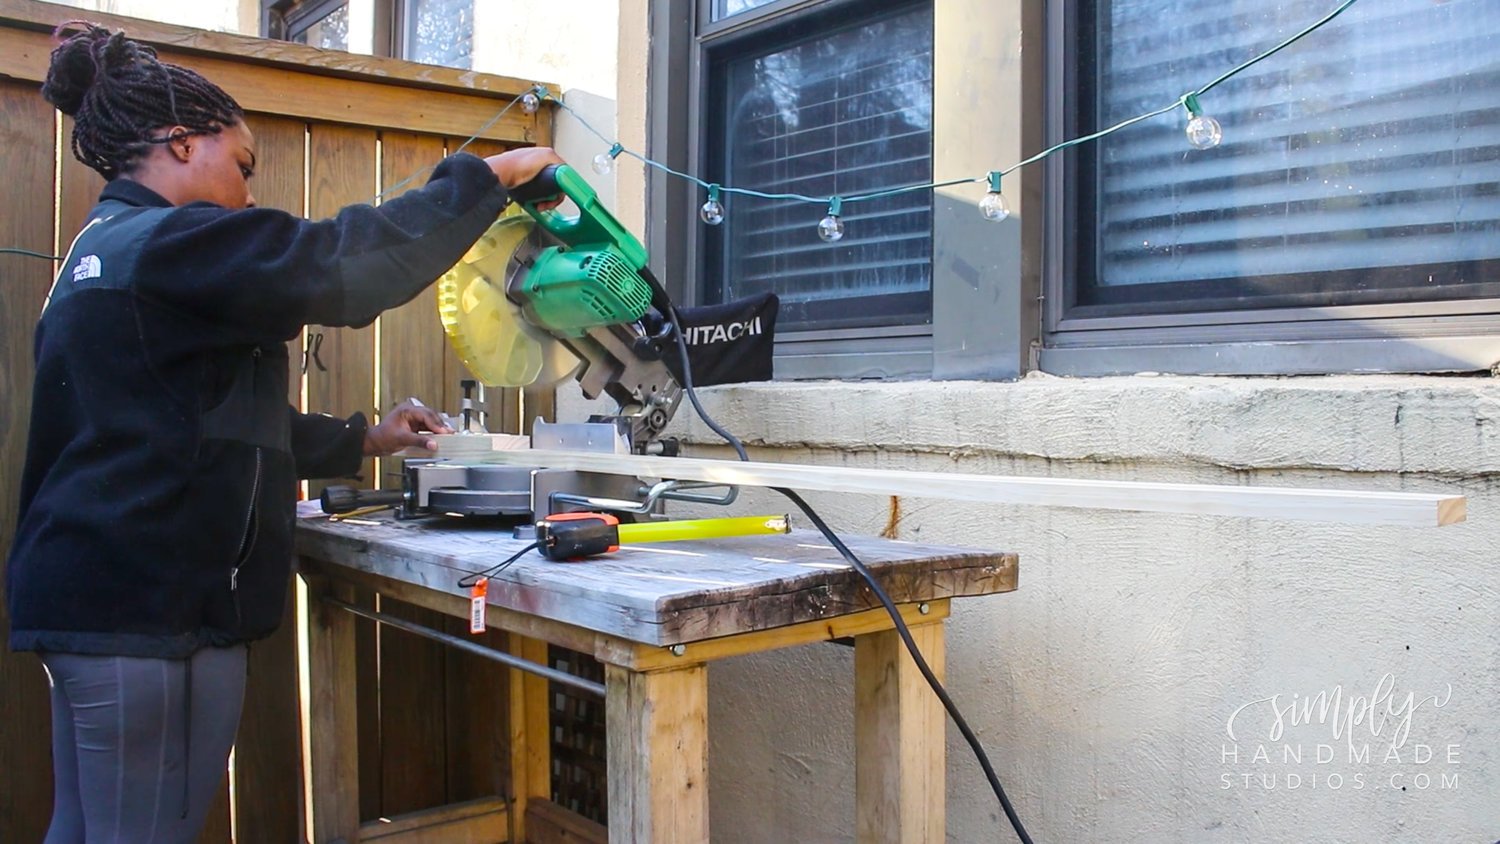
Once I determined the size I wanted my storage unit to be, I made a comprehensive shopping list and cut list (included in the free PDF!) and cut all the wood down to the appropriate size.
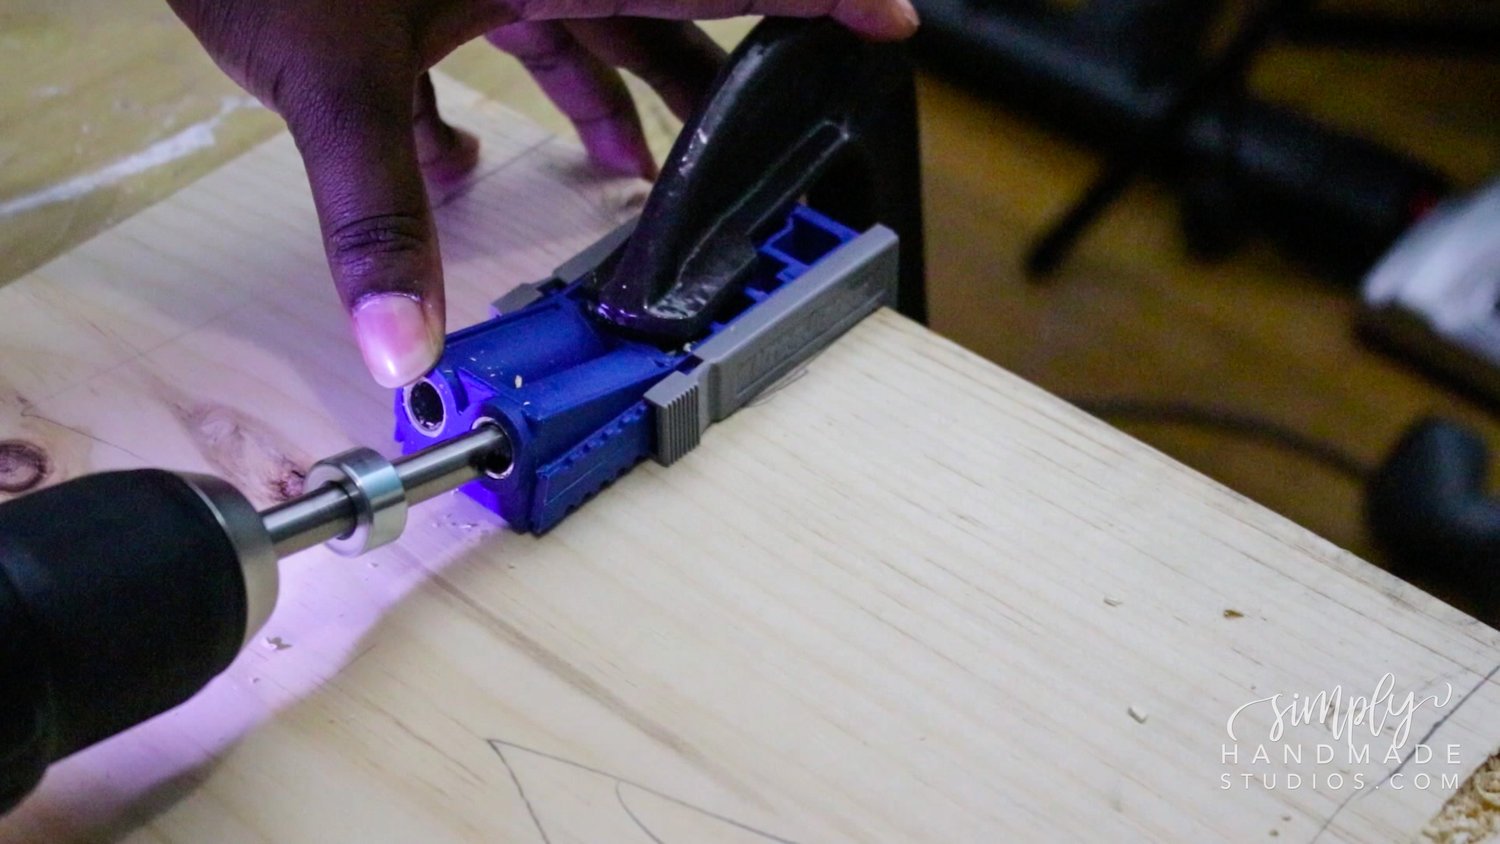
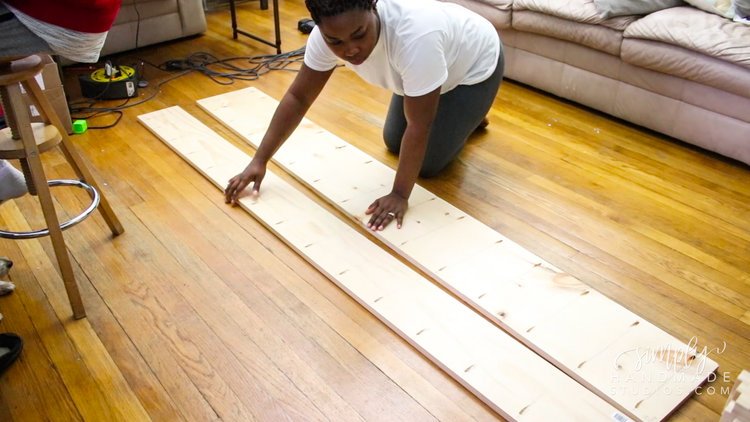
When all the wood had been cut down, I started making the side panels by drilling the pocket holes on both sides of the 1x12 and the outer edge of the 1x8 pieces on the 3/4" setting of the kreg jig. I spaced the pocket holes about 6-8 inches apart and I also made sure the wood grain was going in opposite directions.

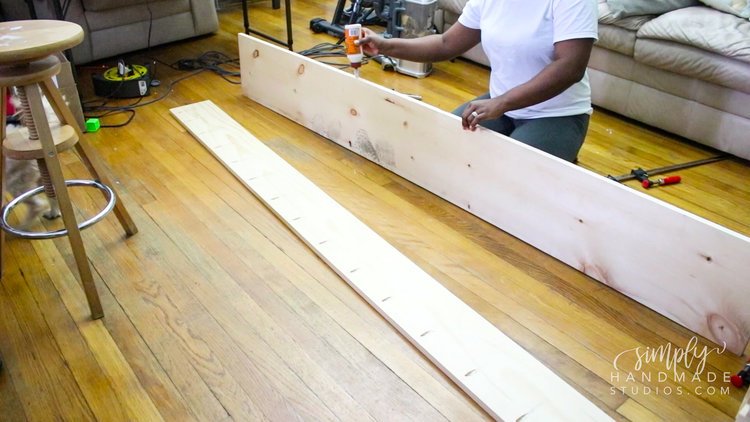
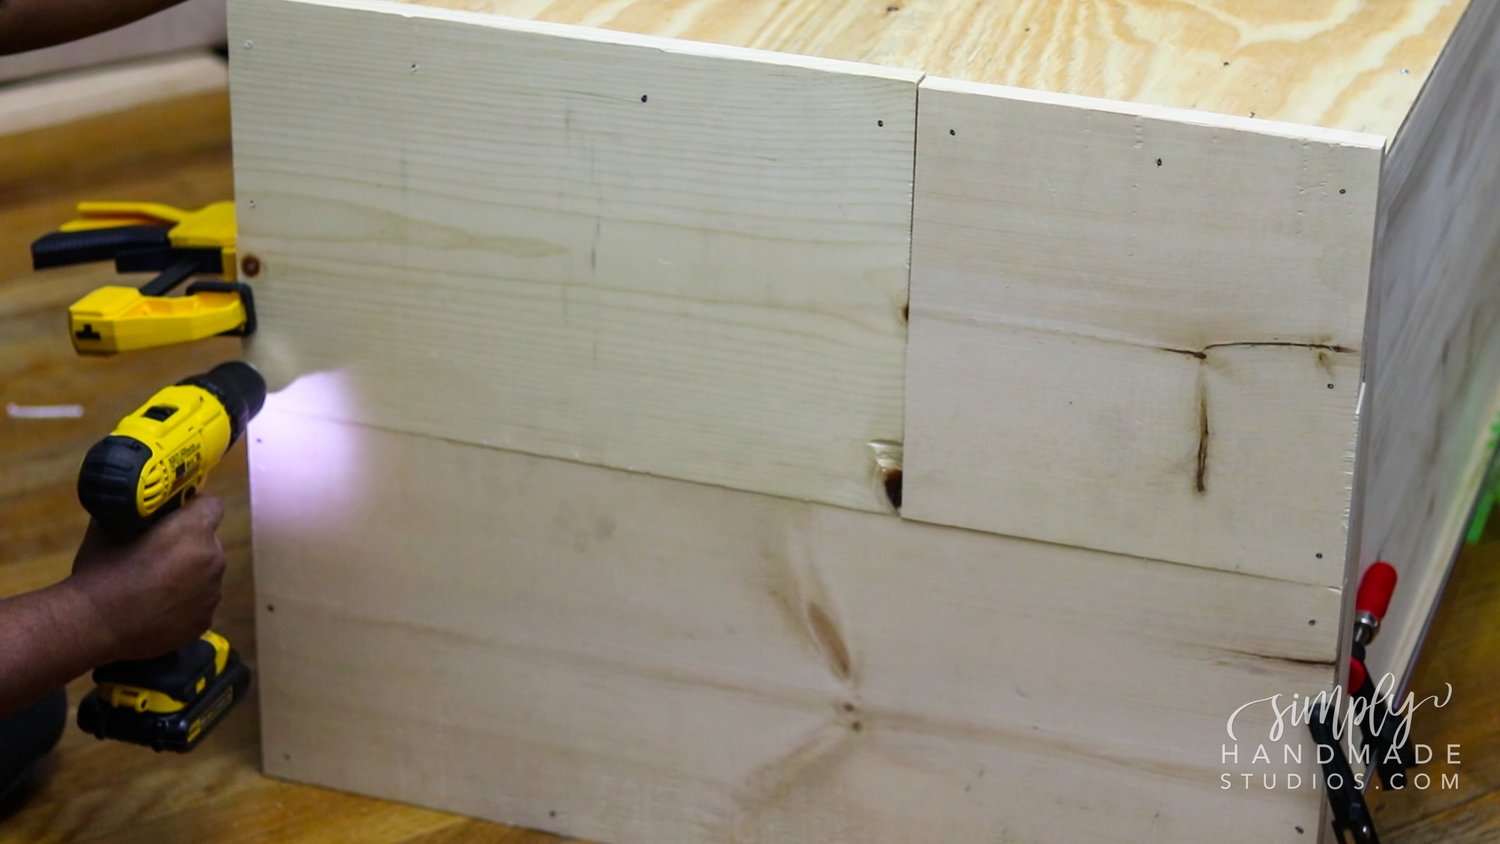
Image 1: Creating the Side Panels
I used a $40 Kreg Pocket Hole System, which is so simple to use. I referenced this YouTube video when I wanted to learn all about pocket holes. I feel this one in particular was a good fit since I could bring it to where I wanted the pocket holes to be. I also kept my vacuum handy because of the sawdust the kreg jig generated. It helped make clean up go a bit smooth later on since I was building this in my living room (don't judge!).
After I drilled all the pocket holes, I added some wood glue on one edge of the 1x8 or 1x12 and clamped them together. I then used the 1.25" pocket hole screws and screwed the wood panels together using the specialty drill bit that came with the pocket hole system.

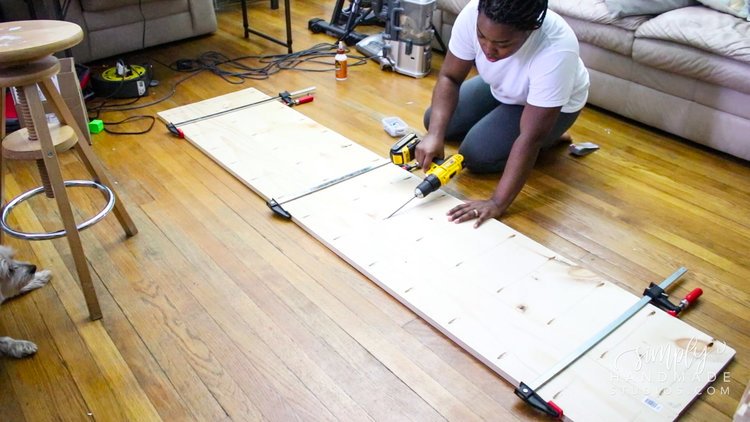
After the two pieces were joined, I took my 1x2 and glued it down to the outside panel (the side without the holes) and clamped it down.

I flipped the entire panel so the pocket holes are facing up and drilled pilot holes and screwed the panel to the 1x2. I drilled screws on the outer edges as well as where the 1x8 and 1x12 were joined, so I used 4 screws in total and repeated this for the other sides (see image 1 above). I had a little overhang so I sanded the wood down to make sure everything was flush.


Image 2: Creating the Panels (continued)
Next up, I grabbed the 2x2 board, glued it to the side and clamped it down and drilled the pocket screws into the wood. Here is where you need to stools to prop the ends up so you can attach the 2x2. Repeat it on the opposite side and you will have something that looks like image 2 above.


Here's a glimpse of the chaos I wrote about earlier. Do you see that corner? How embarrassing! It's all good now, though!
Repeat this same process for the other side panel.
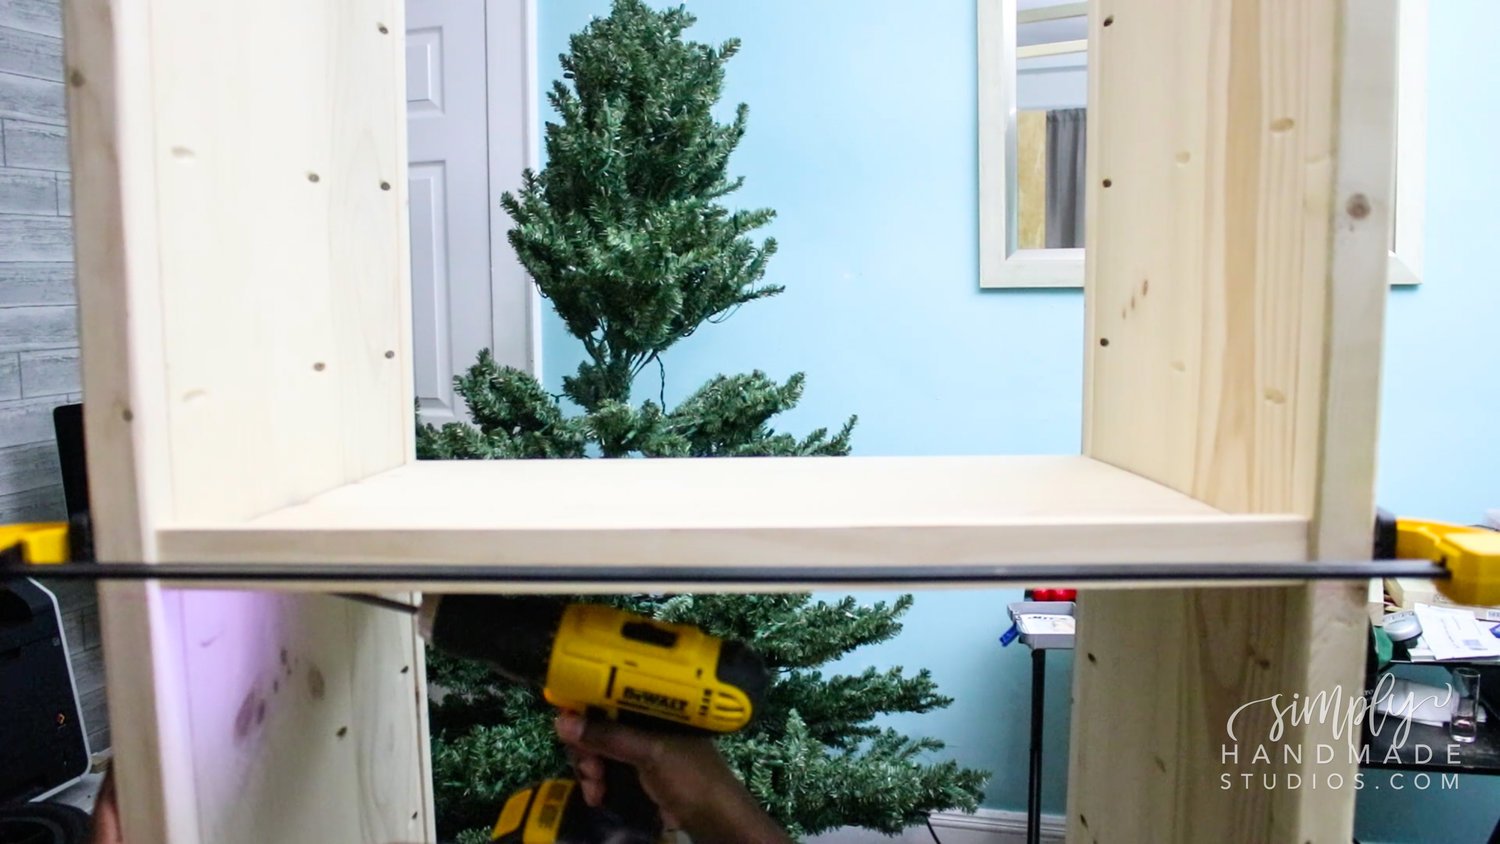
Step 2: Assembling the top support
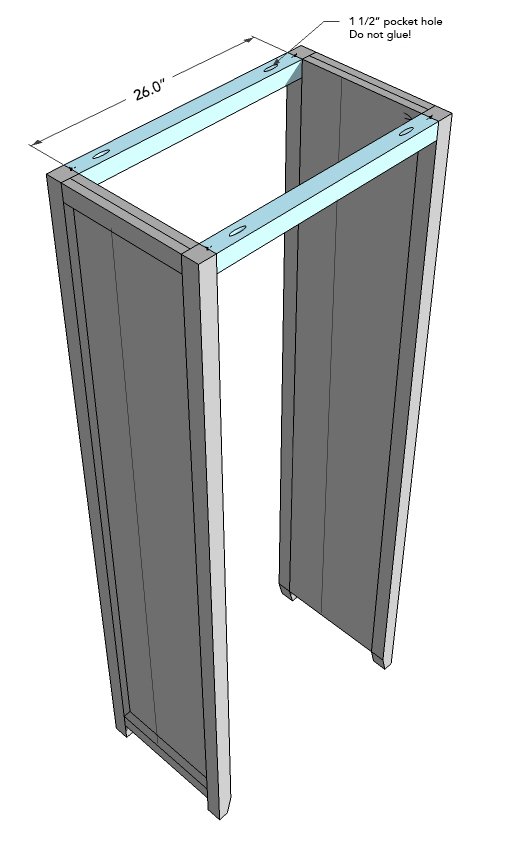
Image 3: Assembling the top support
Assembling the top support seems pretty straight forward but this was actually the most difficult for me. I placed the side panels on the floor and wedged the 2x2 pieces in between (one at a time). I made sure the corners were square with my speed square then clamped them into place.


Once I had both the top and bottom 2x2's clamped into place, I screwed 2.5" pocket hole screws to hold it in place with the sides. Note I did NOT glue the 2x2s to the wood panel just in case I wanted to disassemble this unit later on. When you're done you should have something that looks like image 3 above.
Step 3: Assembling the bottom support:
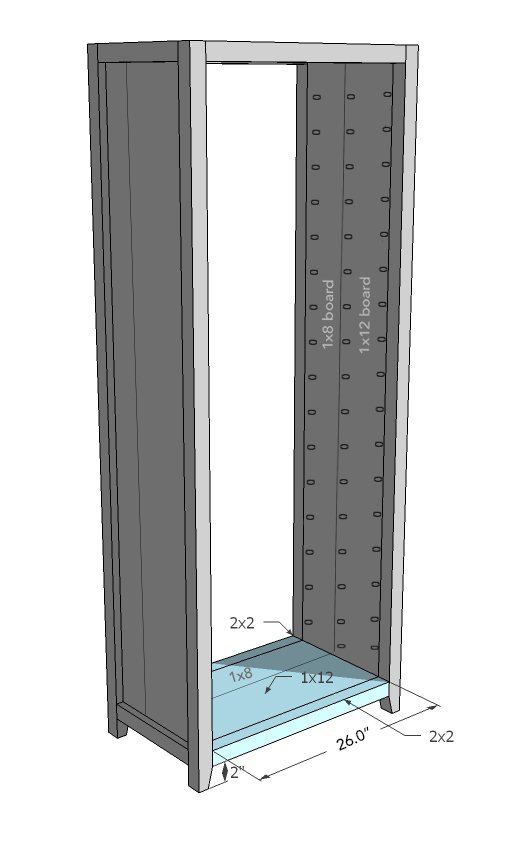
Image 4: Assembling the Bottom

Image 5: How you should assemble the shelving (if you opt to have shelves) and how you should assemble the bottom support. Note you should use 2x2 pieces for the bottom support (image 4) instead of 1x2's.
I assembled the bottom panel by adding pocket holes to the 1x8 and 1x12 in a similar manner as the side panels (see image 1). I then added 2x2's by gluing and screwing 1.25" pocket hole screws to either side of the panel. Next up, I added a single pocket hole on the edges of the 2x2 (on the 1.5" kreg jig setting) as well as the edges of the 1x8 and 1x12 that will connect to the side panels (see image 5 above). I secured the bottom support the same way I did the top support by clamping and ensuring it's square. I aligned the bottom and screwed in 2.25" pocket screws into all the holes (trust me, it's going to be more secure with the larger screw).

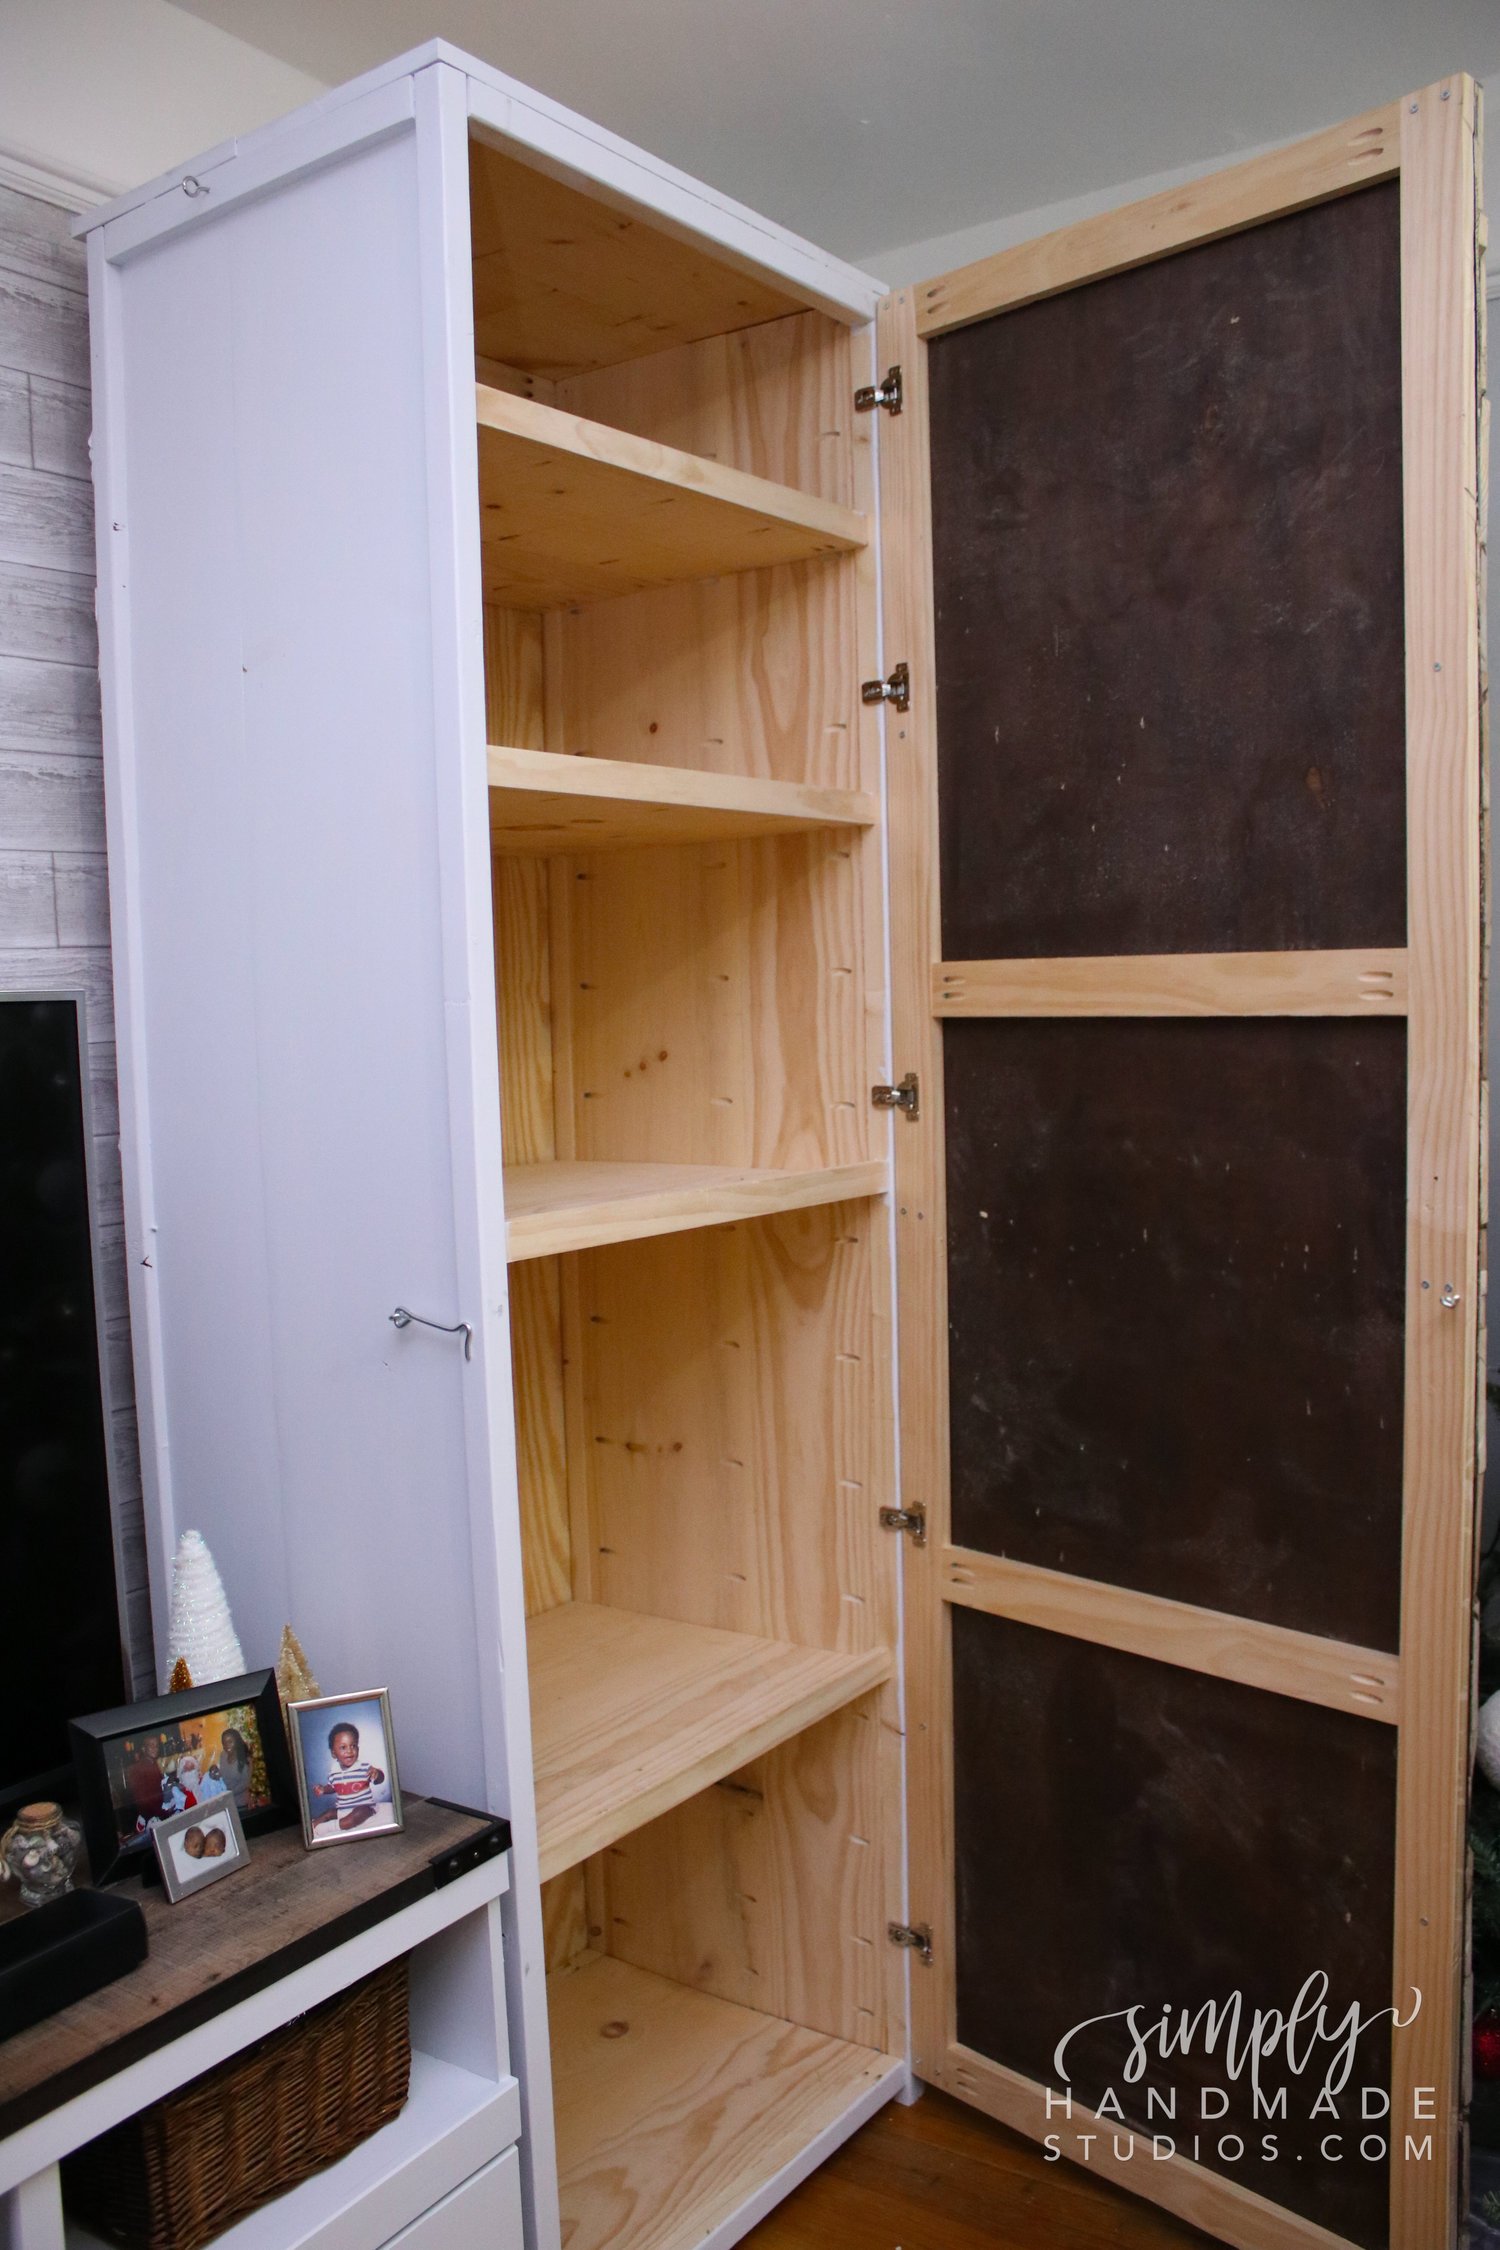
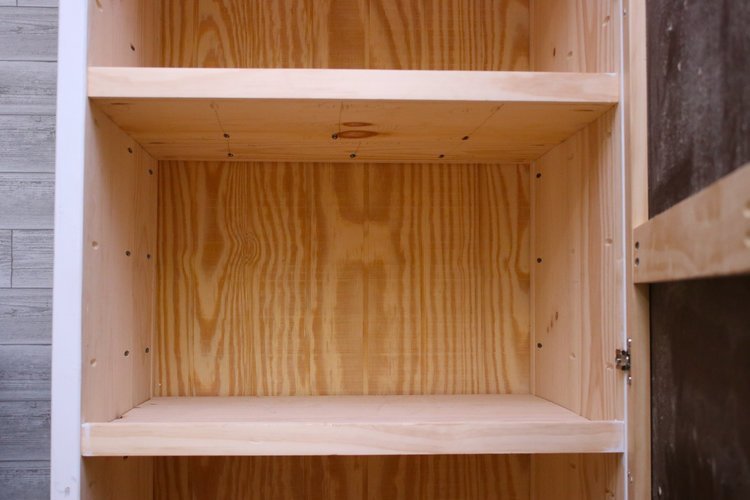
Step 4: Adding the Shelves (optional)
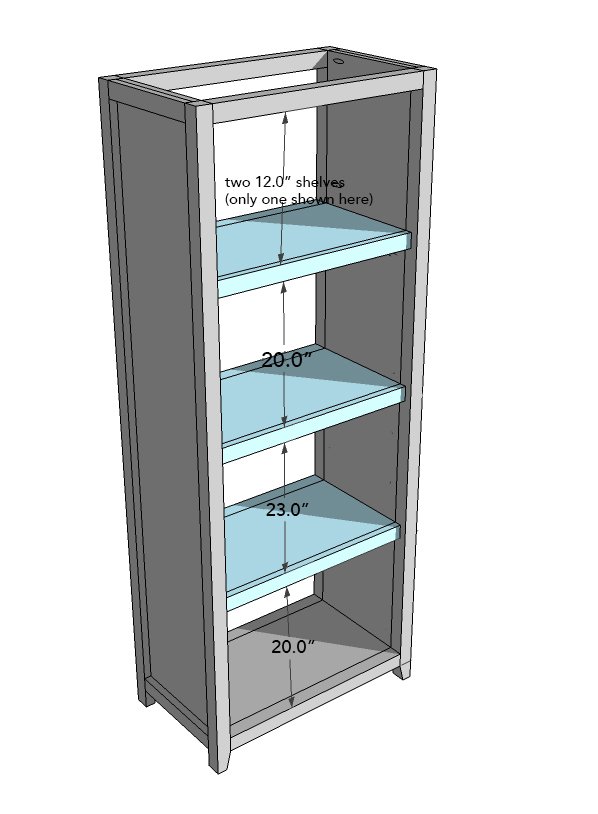
Image 6: Adding the shelves
Make four (or more, or less) shelves to add to the unit. Make them the same as the base (see previous section and image 5 above) but swap out the 2x2's for 1x2's. The 1x2 in the front should form a lip to prevent things from sliding off easily.
Measure how tall you need the bottom shelf and mark for reference. Add the shelf inside the unit and use your hand to hit it into place (don't go hurting yourself here. If it's too tough, grab scrap wood and a hammer and hammer it into place). You'll want to check that the shelf is level in the front and clamp it into place.
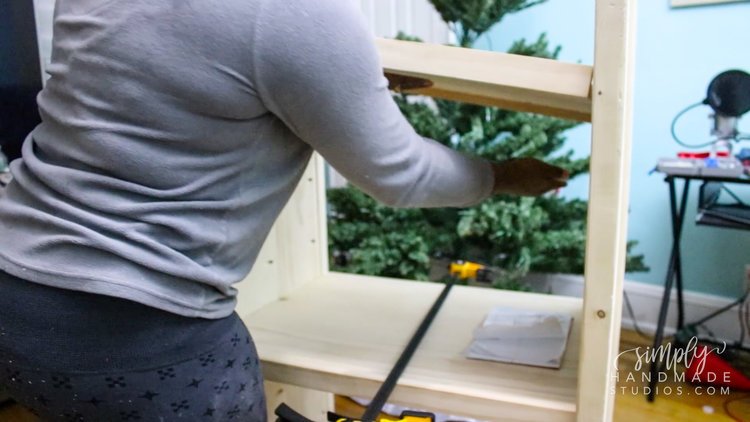

Once the shelf is leveled and clamped, screw in 2.5" pocket hole screws in the holes of the 2x2 and level the back of the shelf. Once the back is level, screw in 2.5" pocket hole screws in the holes of the 2x2 and 1.25" pocket hole screws into the remaining holes. Repeat this for the rest of the shelves.
Step 5: Assembling the Back
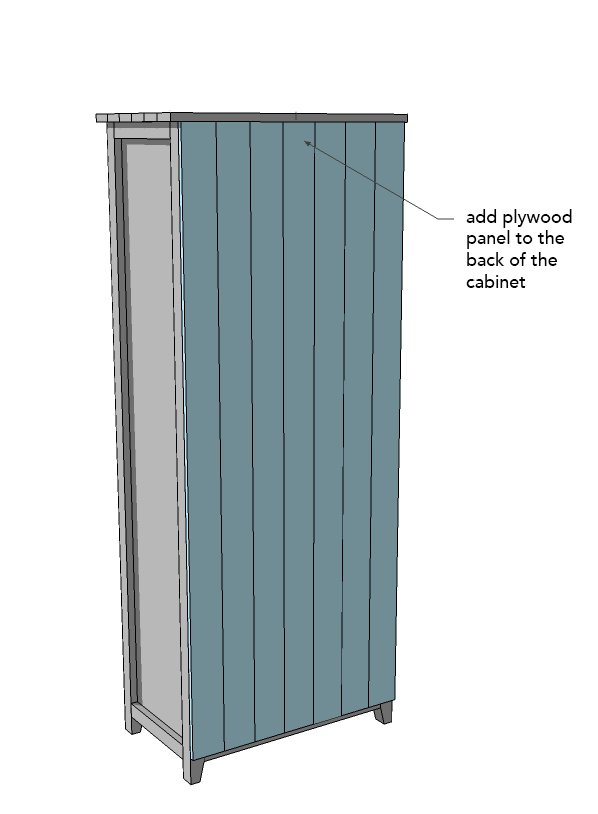
Image 7: Adding the Back
I placed the unit front side down (you may want help for this part, it's getting heavy!) and made sure the plywood was aligned on the back and drilled pilot holes that were slightly smaller than the shaft of the 1.25" wood screws then drilled in the wood screws along the perimeter. You can add as many as you like but the main goal is to get it nice and secure.

Step 6: Assembling the Top

Image 8: Adding the Top
WOOOO! We made it to the end. If you stuck around this long, you're the real MVP! Now let's get the top on this bad boy.
I cut two 1x12's down to 29 inches since I wanted mine to be flush but there is another option outlined in the handy dandy PDF I put together for you. Choose your size and make sure the unit is still face down. I clamped the 1x12's into place then drilled pilot holes that were slightly smaller than the shaft of the 1.25" wood screws then drilled in the wood screws along the perimeter. That's it! So Easy!!
Step 7: Sanding, and Painting or Staining
Now that you have the entire cabinet built (Go you!!), you should inspect your cabinet for any imperfections, nicks, dents, holes, etc. and patch it up with wood filler using your putty knife. Once the wood filler has dried, use your orbital sander and sand everything down. Sanding is a bit tedious and super messy! Don't forget to wear eye protection and a face mask for the dust.
PS: You could totally sand down the parts before assembly (side panels once they were complete, the top 2x2's, bottom base, etc.) I did this for the second unit and found it was slightly easier to handle it this way since I was limited on space in my apt.
Once you're done sanding, wipe away the super fine sawdust with a damp cloth and stain/paint as usual. If you want to keep the natural wood color, add polyurethane and you're all set.
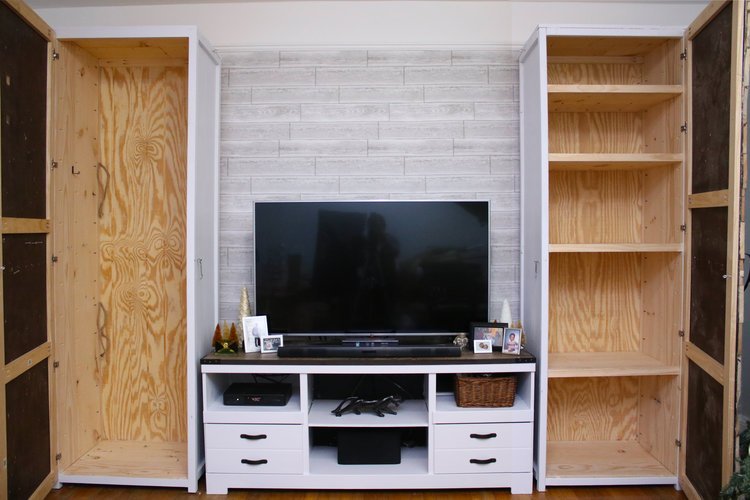
Now you can sip on a glass of wine and admire your handy work! Trust me, it's so rewarding and you'll want to stare at it all day!! Send me a photo of what you create! I'd love to see your handiwork and compliment you on a job well done! If you want to make doors, check out this post to see how I made mine!
All images were taken from these original plans, but I tailored it to how I created my massive units!
Leave a comment below if you have any questions! I'll be more than happy to help in any way I can :)