
DIY Moss Decorative Letters
DIY Moss Decorative Letters
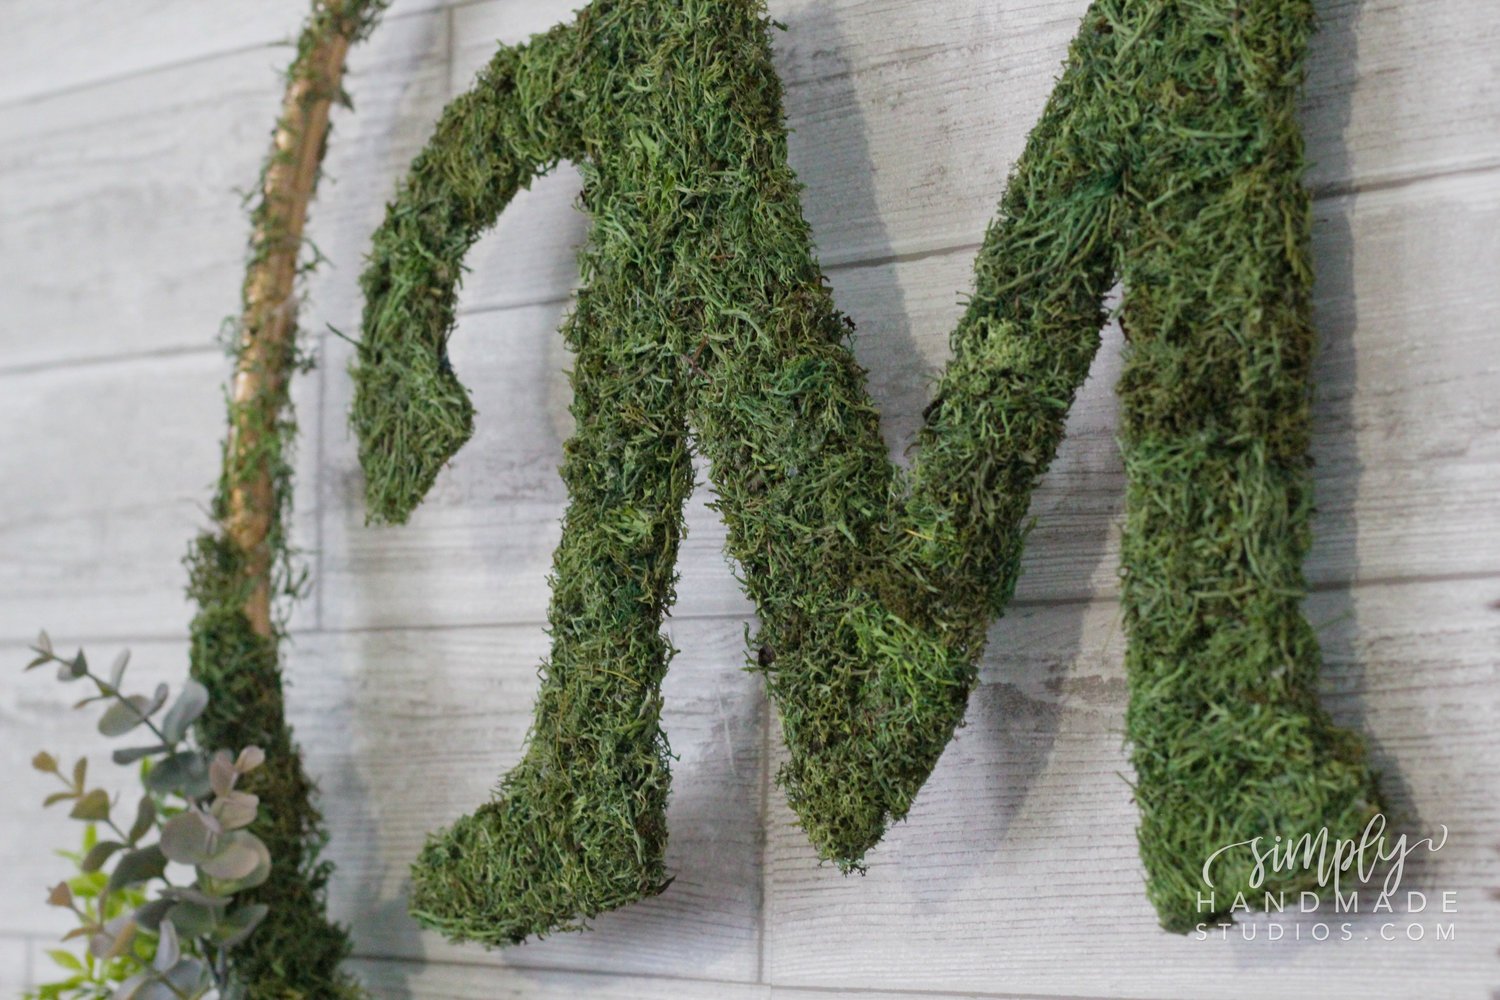
DIY Your own Moss Decorative Letters. These can be hung on a jumbo wreath (as pictured below), or events such as weddings. See how I used these decorative letters with the wedding arch in this post! You're probably thinking this is such an involved process, but I assure you with a little time & a great show, you'll be done in no time! Let's get started!!!

You’ll want to start out with a cardboard box. No specific type - here I recycled my amazon box.

Make a banner of your word or letter and add some colored pencil or pencil to the back. You can also use transfer paper for this step if you have that on hand.

Tape the banner on the cardboard so it doesn’t move and start tracing. I made my letter a bit bigger so it’s nice and sturdy. You don’t want think parts that can easily break off.

You'll want to occasionally look at the cardboard to check on your progress.
When you’re done, go over the lines with a darker pen or marker so it’s easier to cut.

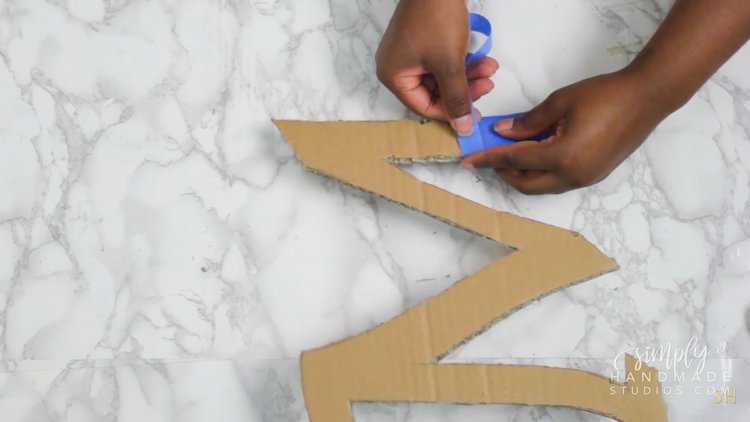
cut out the letter and begin covering it with some masking tape or painter’s tape to make it more sturdy.

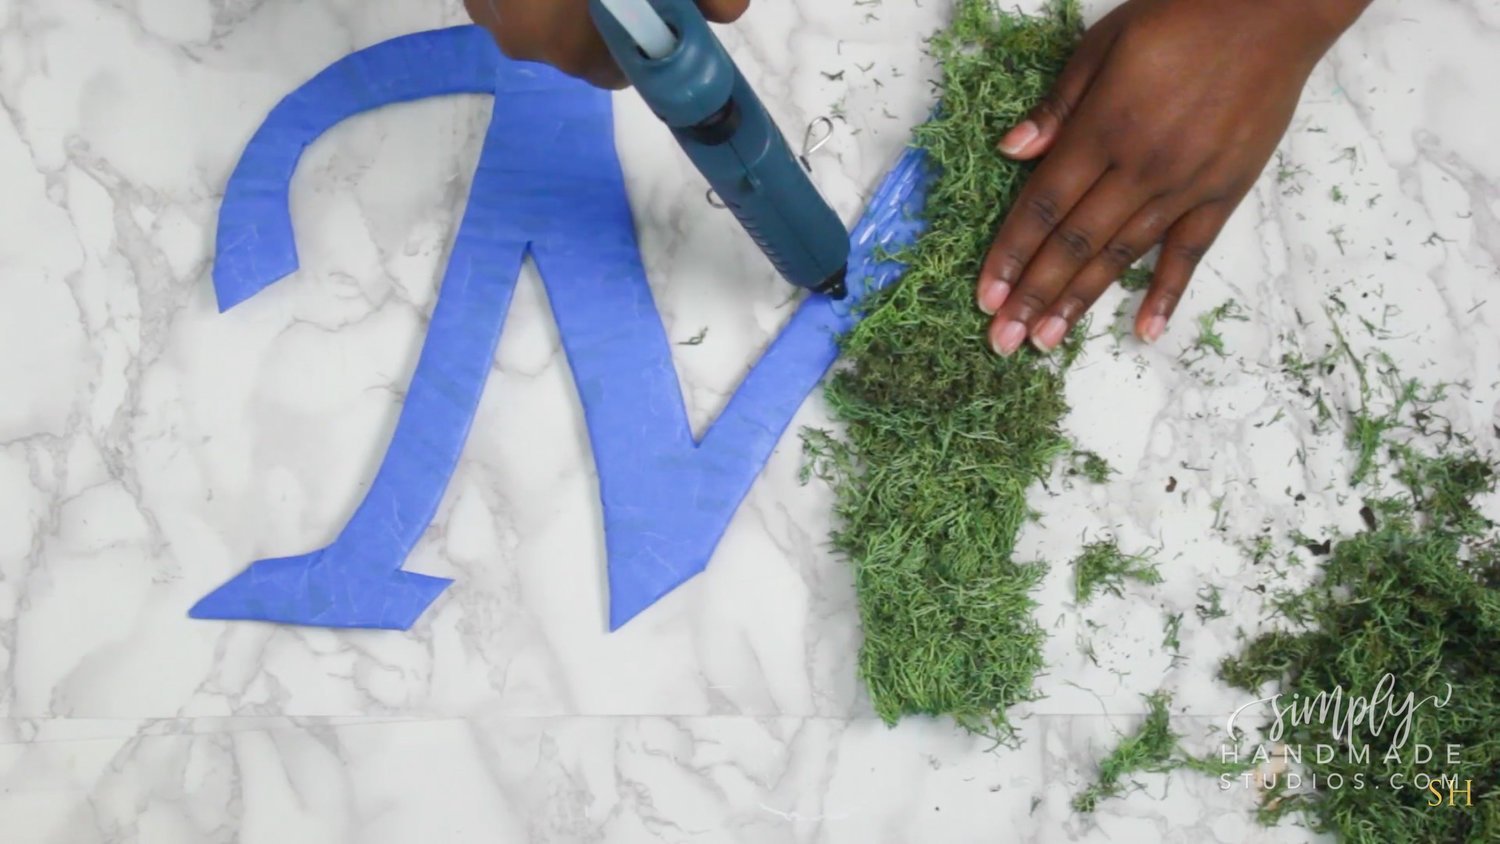
use some hot blue and start adding the moss. I’m using reindeer moss from the dollar tree.


When you’re done, it’s time for a haircut! Trim the top and sides of the letter.
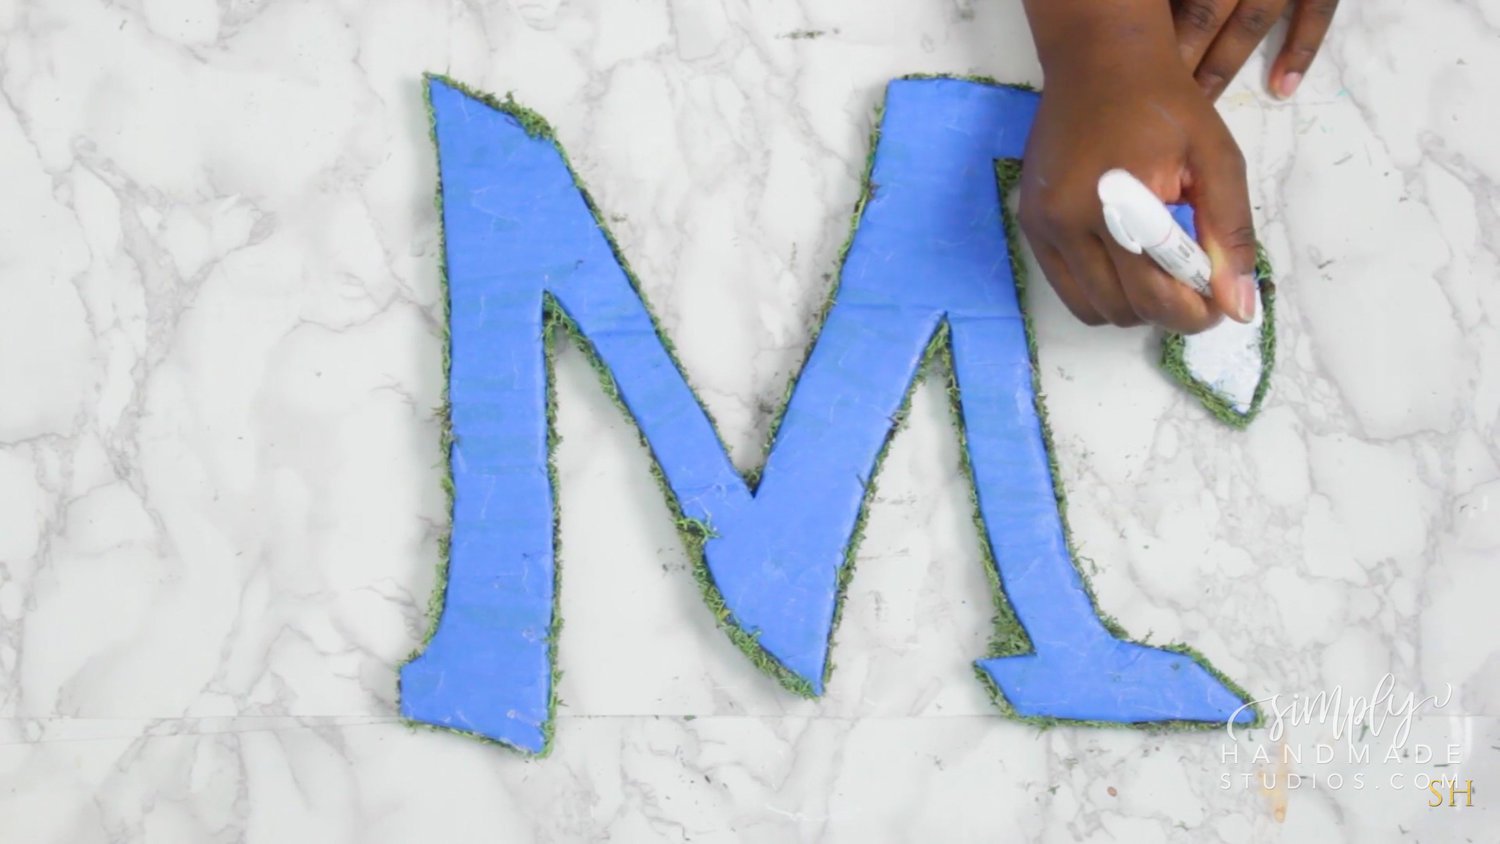
You can leave the back as is. Add moss, or paint it like I did here. In hindsight I should have painted the back after I initially finished adding the tape. Learn from my mistake lol.


Add moss anywhere that needs it, trim, and you’re all set

I hope you enjoyed this super quick tutorial! Want to see me make this in action? Watch the YouTube video here: