
Renter-Friendly “Built-In” Bunk Beds (Part 2)
In Part I, I showed you how to frame out the bunks. It doesn’t look like much in the last post. but trust the process! It’ll be absolutely gorgeous! This post will focus mainly on the drawers before making the bunks pretty!
As a reminder, I have the guide , cut list, and detailed/illustrated how to assemble the bunks for yourself! If you want exact dimensions I used, please consider purchasing the plans for this bunk bed build. You can of course follow along and opt to measure your space and create your own cut list. Please note: the plans are for narrow twin mattresses, not regular twin mattress.
Materials Needed:
1-inch pocket hole screws
1-1/4-inch pocket hole screws
3/4-inch plywood
Drawer slides
cardboard or acrylic sheet
Drawer pulls
3-inch screws
Tools Needed:
Drill
Level
Speed Square or Carpenter square
Pencil
Jigsaw (optional)
Circular Saw
Table Saw
Kreg pocket hole system
90-degree clamp


Step 1: Cutting and prepping the wood
I highly suggest getting plywood cut down to a manageable size at the hardware store. I have the exact dimensions to make mine in the PDF download, but I suggest measuring the length of the inside where the drawers will be, and dividing in 3 equal parts, or in 2 equal parts plus a slightly smaller (middle) drawer.
Once measured, I ended up with 9 cross slats, and 4 vertical dividers (and end caps). This will all make sense as I assemble

Step 2: Add Pocket Holes
The prep and assembly of this system is so easy. I wish I could take the credit for this genius idea, but I got the idea from I Like to Make Things on YouTube, specifically this video. I ended up adding pocket holes on the back and bottom of each of the drawer rests. This will make attaching them to the dividers easy.

Step 3: Assembling the Base
I started assembling the base in the middle then adding drawers on either side. I did notice I did not have to have a large gap on the bottom cross slats for it to function properly. I used 1-inch pocket hole screws and added a cross slat on the back and two on the bottom into the dividers. When you’re done, you will have a place for 3 drawers to rest.

Step 4: Making the drawers.
Once you’ve finished the base, measure in between the dividers for all 3 bases and take note of the measurement. Take off 1 inch from the measurement (plus an additional 1.5” to account for the sides of the drawer) and you will have the width of the drawer. Measure the back cross slat to the front of the divider and you will have the depth of your drawer. Measure the top of the middle cross slat to the base of the opening (under the bunk) and you will have roughly how high you can make your drawers. The last measurement will be the base of the drawer. It should sit inside the drawer so measure accordingly. Once you have your measurements, you can begin assembly.

Assembling the drawers is easy! First thing you’ll need to do is add pocket holes to the front faces.
Once pocket holed, add wood glue to the ends of the front panel, grab a 90-degree clamp, and clamp the front and sides of the drawer. Pocket hole with a 1-1/4” pocket hole screw. Repeat for the 3 remaining corners. The pocket holes should be facing the outside of the drawer so when looking inside, you cannot see them.

Once the side walls are assembled, add wood glue to the perimeter of the inside bottom of the drawer and place inside.

Adjust as needed then screw or brad nail the base in place then you’re all done with your drawer. Repeat the steps for the remaining two drawers.

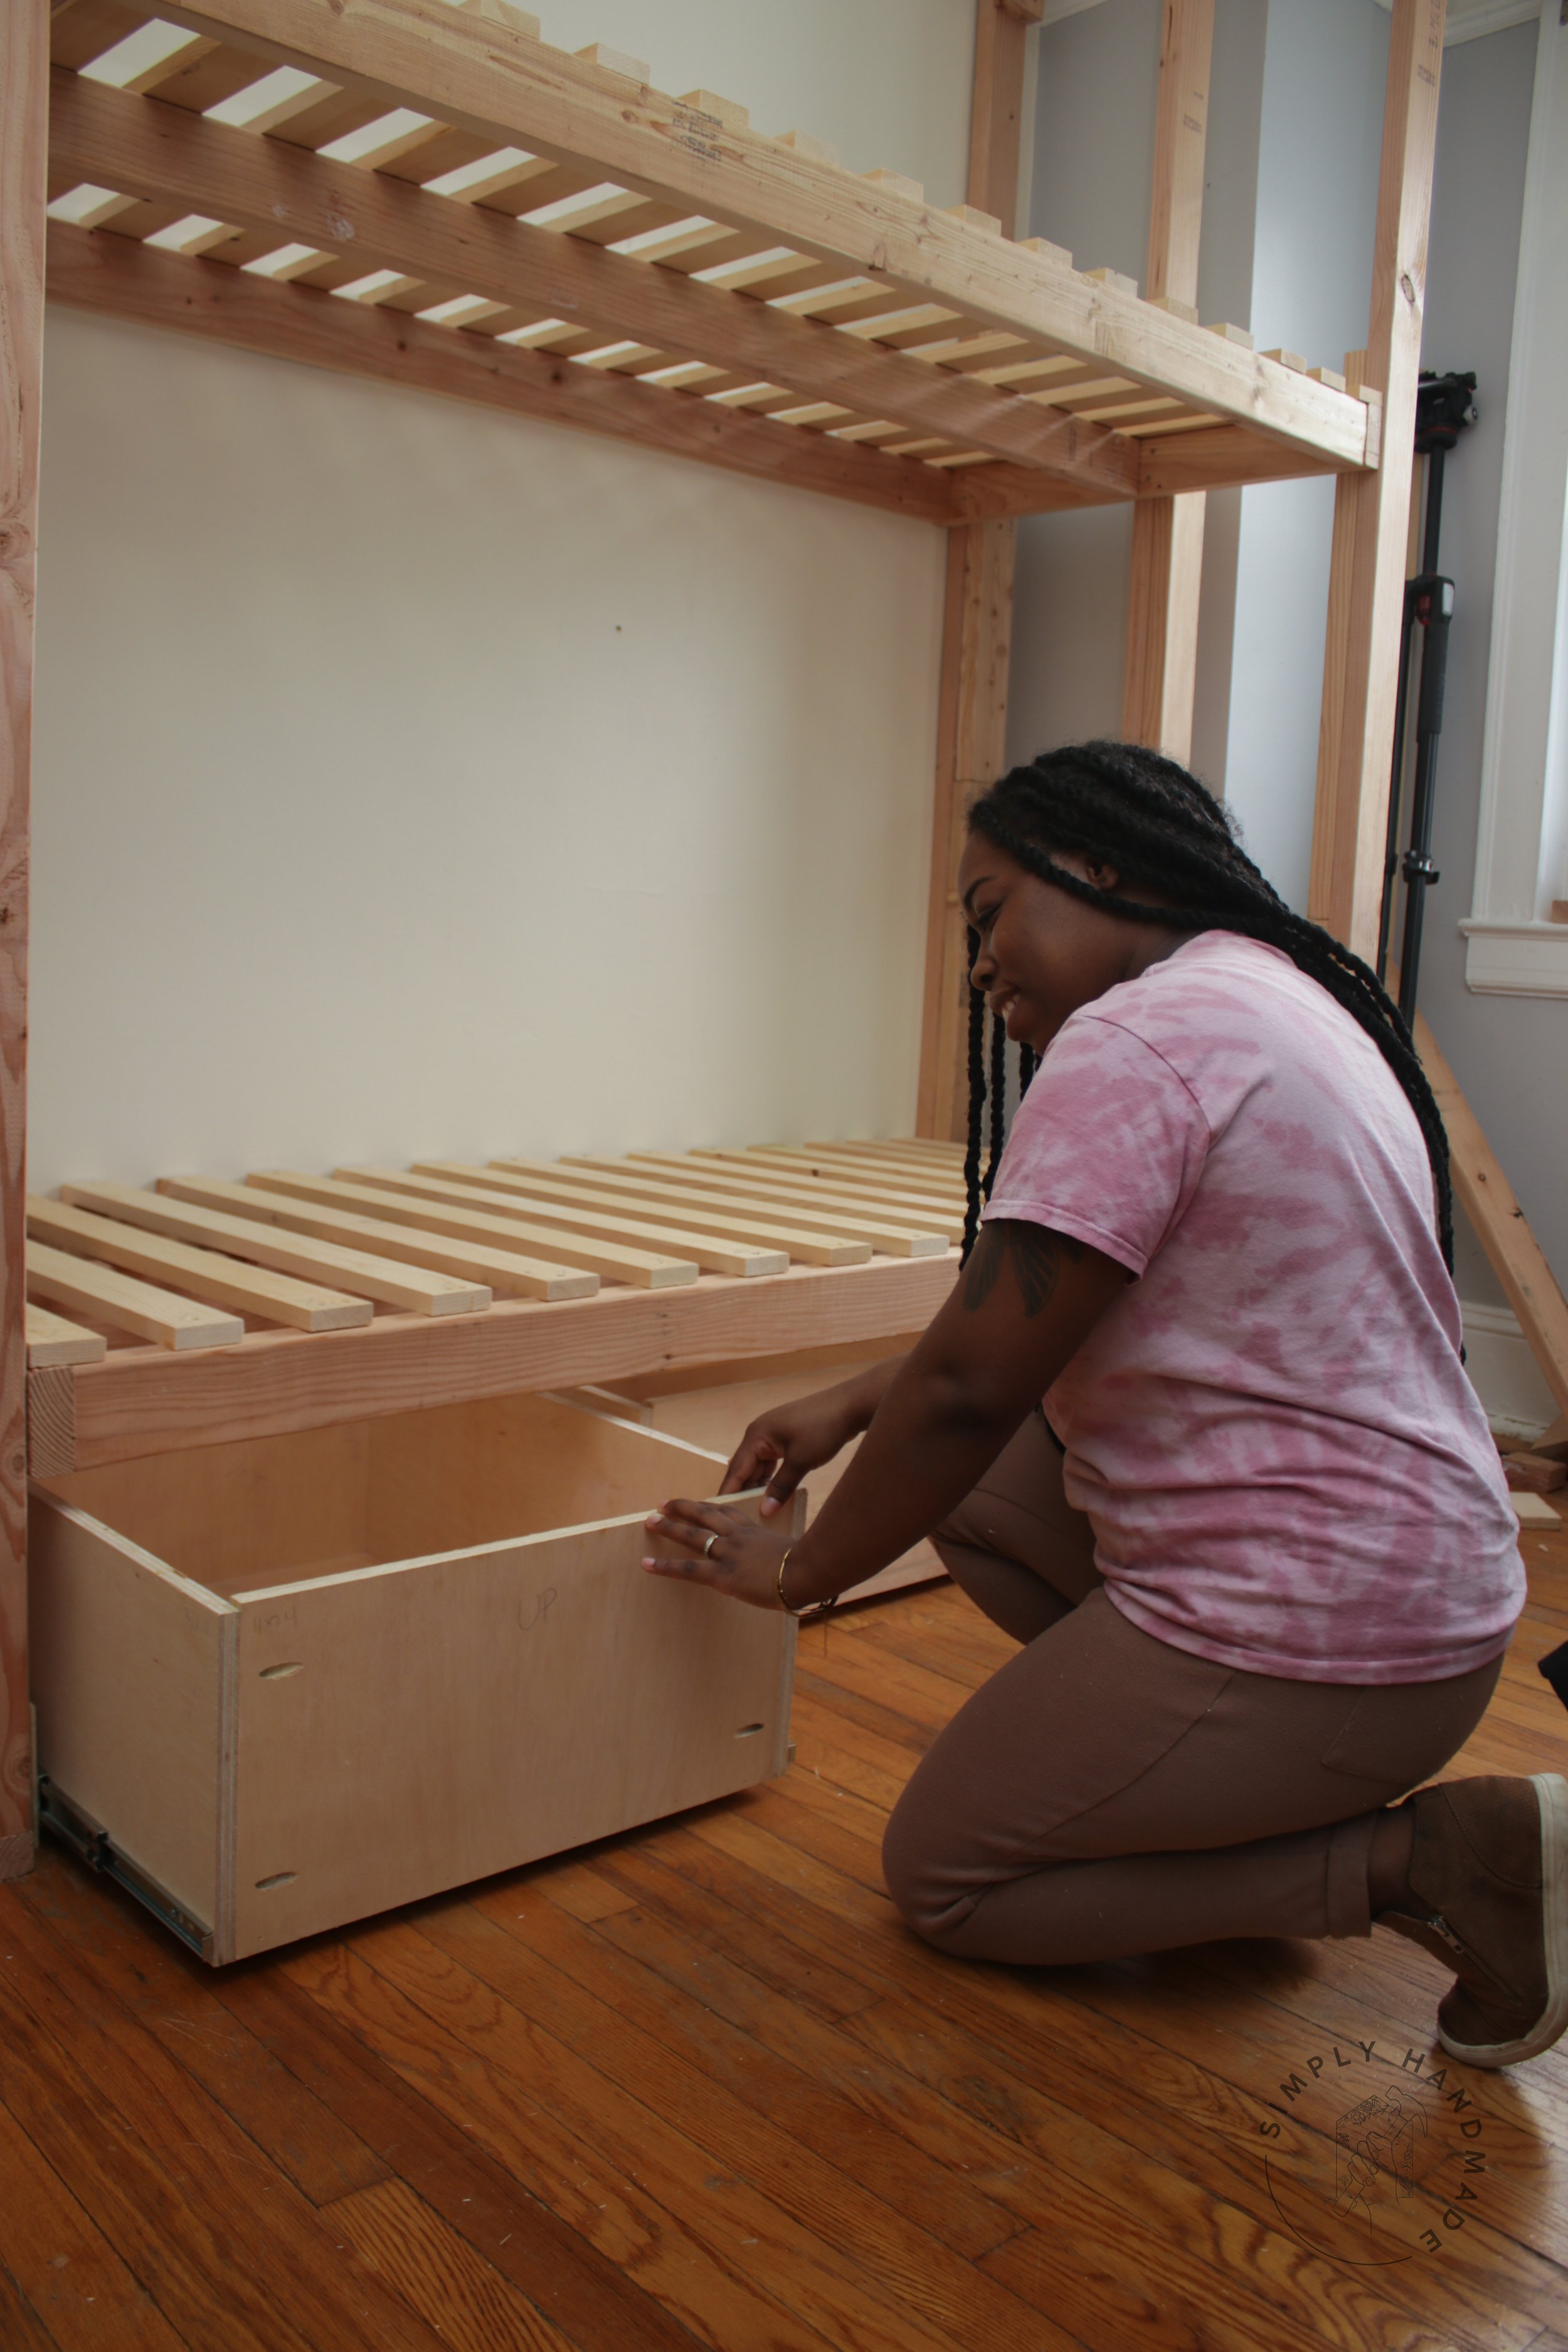
Step 5: Adding the Drawer Slides
Screw the drawer slides directly to the bottom of the base. Make sure the drawer slide and the front of the dividers are lined up.

Once attached, place a thin piece of acrylic or cardboard to the drawer base and place the drawer on top. This will serve as a buffer so the drawer will not slide/rub against the wood on the bottom. It will be slightly elevated.

Slowly pull the drawer out (as if you’re opening it) and screw the slides to the side of the drawer. Do both sides simultaneously so you don’t shift the drawer in any way.

Step 6: Adding the Drawer Faces and Hardware
Once the facing goes on for the entire bunk, we will revisit facing the bunks. It will give a more accurate measurement on how it should look. In the meantime, I added screws to be able to grip and open the drawers and slid the base under the bunks
Look out for Part 3 where we face the bunks, make the ladder, and finally add the front of the drawers!
PIN THIS POST FOR LATER
