How to Build a Wall Desk
How to Build a Wall Desk
I needed a plant stand for all my plant babies, and while creating this stand, I also realize I needed a sturdier desk for my computer, so I figured I could combine the two. I had someone ask me “how do you water all the plants without getting the computer wet?” The short answer is: I take the plants off to water them. Easy peasy! Let’s begin, shall we?
Project difficulty: Beginner
Materials needed for this project:
4 x 8 birch plywood
pencil
1.25 in and 2 in pocket hole screws. I got a pack like this one so I have a variety of sizes.
respirator mask with filters or other face mask
Tools needed for this project:
Watch the video:
Instructions:
Step 1: Cut all of the pieces of wood down to size. You will need the following cuts:
- (16) 1.5” x 37” pieces of wood
- (2) 12” x 72” pieces of wood
- (16) 1.5” x 10.5” pieces of wood
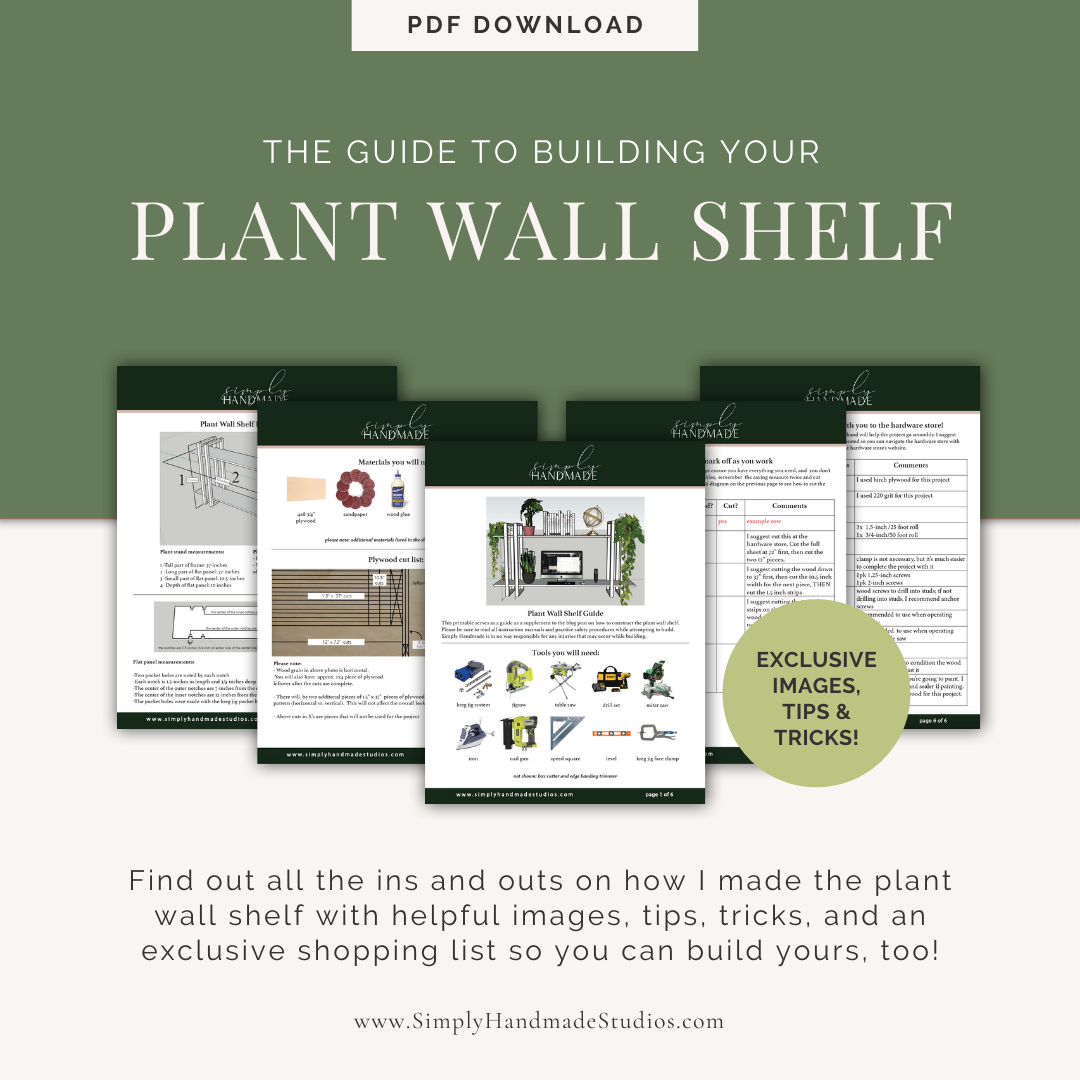
I have a guide on exactly how to cut the wood with tips and notes in the download above.
Step 2: Glue the 37” pieces together and nail together with the brad nail gun. You will have 8 pieces of the 37” pieces. Do the same for the 10.5 inch pieces. You will have 8 of the 10.5 pieces as well. Note: make sure to nail into the sides you want to face the wall, including the 2 extra horizontal pieces.
Step 3: Iron on edge banding along the sides of the 37” pieces, the 10.5” pieces, and around the 12 inch flat panels to cover up the edges. Cut down the edges with a box cutter or edge trimmer.
Step 4: Sand along the edges as well as the face of all sides of the 37” pieces, the 10.5” pieces, and around the 12 inch flat panels.
Step 5: Measure and mark 7” and 12” on one side of the flat panel (both left and right sides). On either side of the mark, measure 3/4 inches on each side and extend the line to the other side with a speed square, which will ensure it’s even on each side. Mark 3/4 inches from the edge toward the inner corner of the panel and draw a horizontal line across. Repeat on all sides. You should now have a guide on where to cut out the notches with the jigsaw. Cut the notches and repeat the steps on the other 12-inch flat panel.
Step 6: Dry fit the long 37” pieces to each of the cutouts to ensure it fits well (not too loose, and not too tight) If it’s too tight, either sand down or cut out more with the jigsaw.
Step 7: Drill pocket holes in either side of the 10.5” pieces (on one side only), and inside the notches of the flat panel.
Step 8: Assemble the frame pieces (there will be 4 in total). Use the 2-inch pocket hole screws to assemble, and be sure to check for square on the corners. Once assembled, line up all the frames together and mark guides on the top and bottom of the inner frame (on all sides, 4 total on each). These marks will denote where the flat panels will be screwed in.
Step 9: Shimmy the flat panels into the frames, one at a time. Screw with the 1.25” pocket hole screws, and ensure the shelf is level. Repeat for the lower shelf. Note the horizontal sections are on the back where it will be screwed on the wall.
Step 10: Remove any sawdust, apply wood conditioner, stain, and seal with a polyurethane sealer. I recommend mounting to studs on the wall once it’s stained and sealed.
The following steps are optional since I’m using this stand as both a computer desk and a plant stand. This was placed in an area with no light, so I had to purchase grow lights for both tiers of the stand.
Step 11 (optional): Install grow lights. The natural light in this space isn’t sufficient enough for my plants to grow, so I installed grow lights, and let me tell you - my plants are THRIVING! See DIY Pendant Grow Lights blog post for a step-by-step tutorial on how I made and installed them.


