
DIY Dog Bowl Stand Under $25 + Healthy Dog Meal Plan

DIY Dog Bowl Stand + Healthy Dog Meal Plan
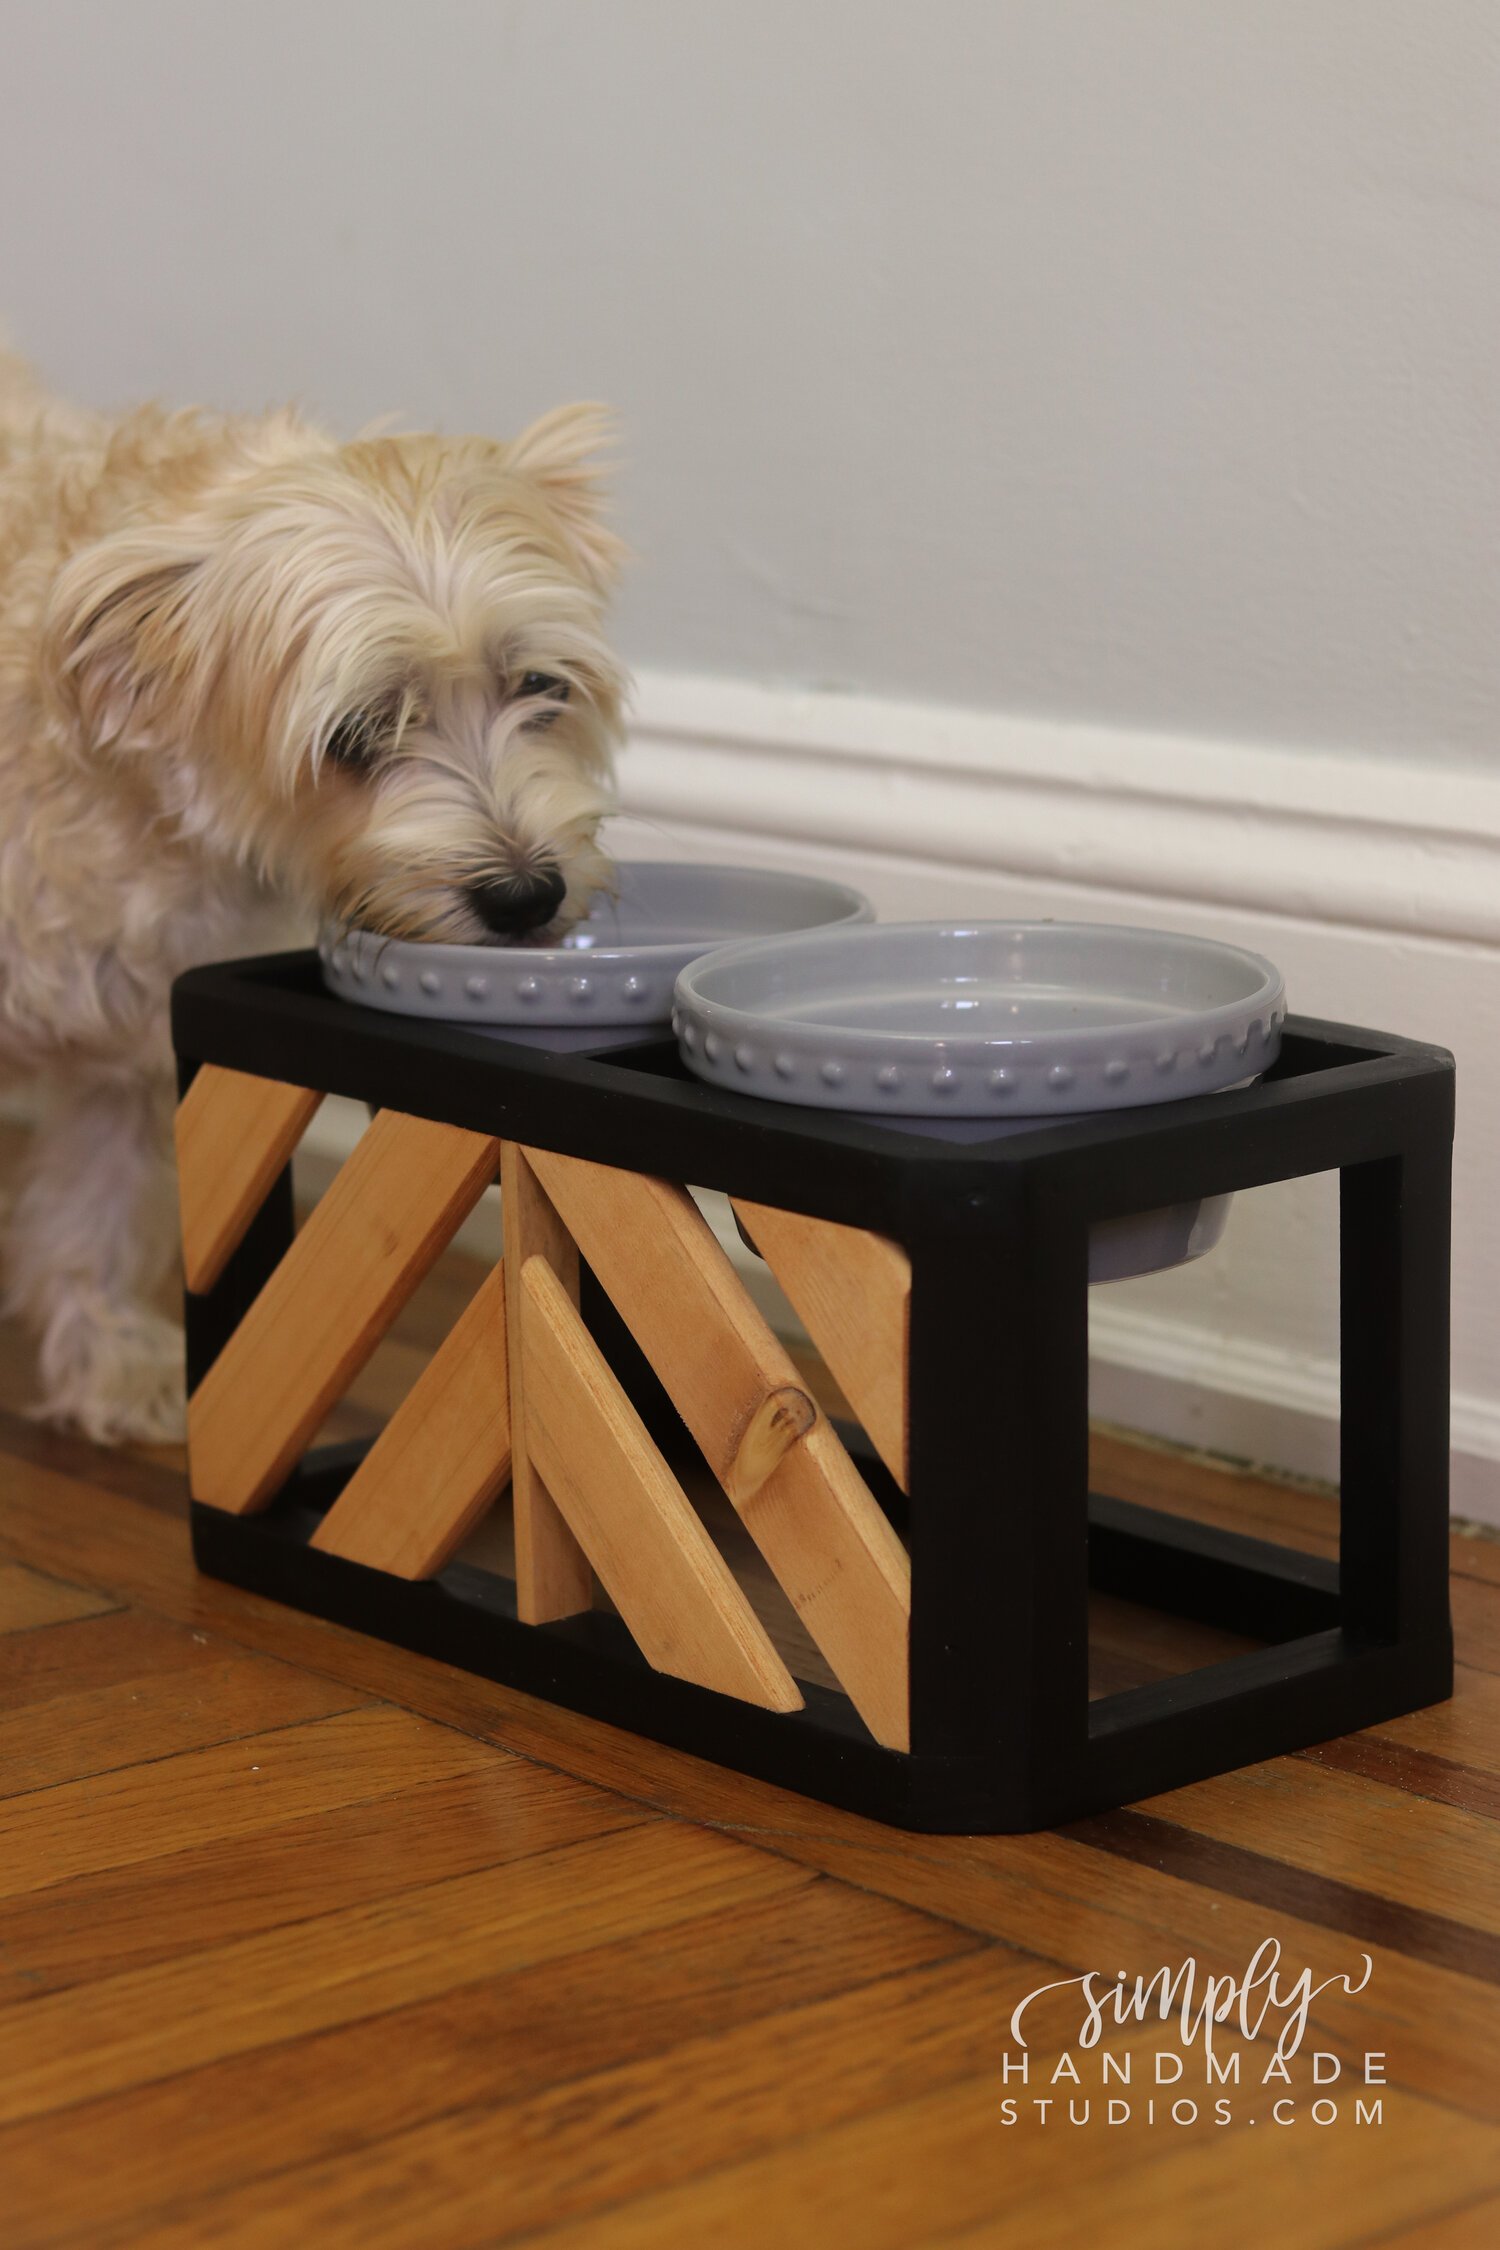
I wanted to create a modern dog food bowl for my teddy bear that will not only go with the aesthetic of the home, but also provide him a little height so he can be more comfy while eating. Ted’s 6 years old this year, and I do whatever I can to make sure he’s okay physically and emotionally. I’ve noticed I’ve been giving him a few more pup treats than he should normally get, and in turn, he has gained some weight (okay, A LOT more treats.. and table food). In this post, I’ll also share meals that I’ve been giving Teddy to help him slim down and stay as healthy as possible.
This post is sponsored by Ollie, however, all ideas and thoughts conveyed are my own.
Project Difficulty: Medium
Materials Needed for this project:
(2) 1x4 wood ripped down to 3/4”
2x2 wood ripped down to 1/4”
(2) 1/4” x 5 1/16” x 3/4” wood (I had scrap wood laying around and cut it down)
Dog Bowls
Measuring tape
Pencil
Paint and Stain
Wood Glue
Tools Needed for this project:
Table Saw
Miter Saw
Nail Gun
INSTRUCTIONS:

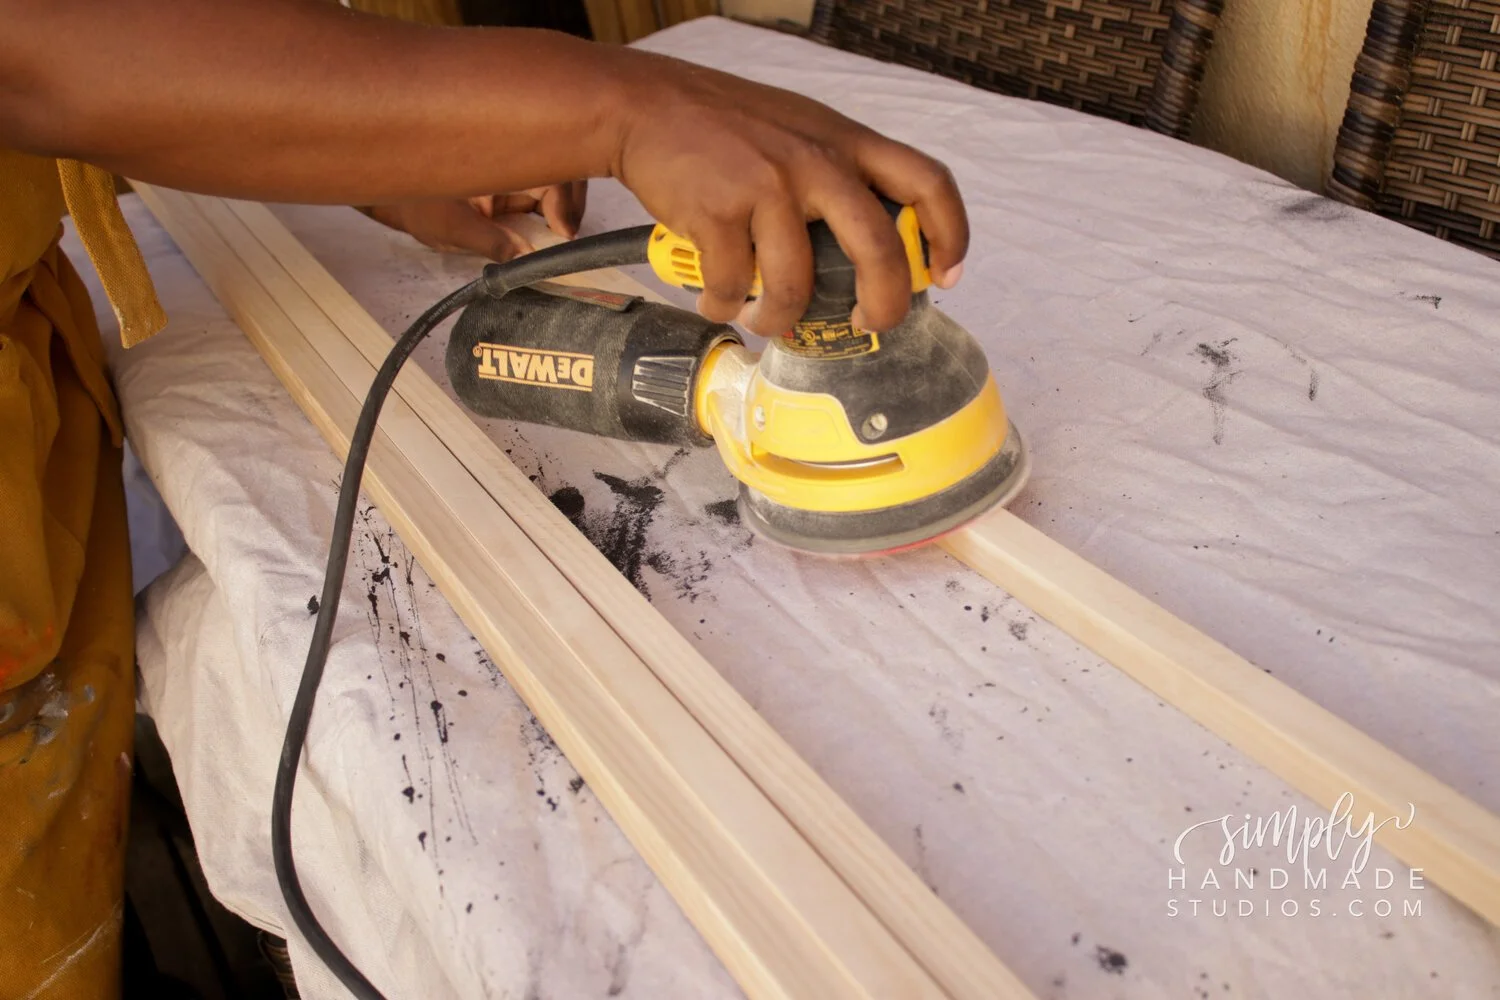
The first thing I did was set my miter saw to 3/4 of an inch and ripped my boards down to size and sanded down all the boards so I had a nice smooth surface to work with.
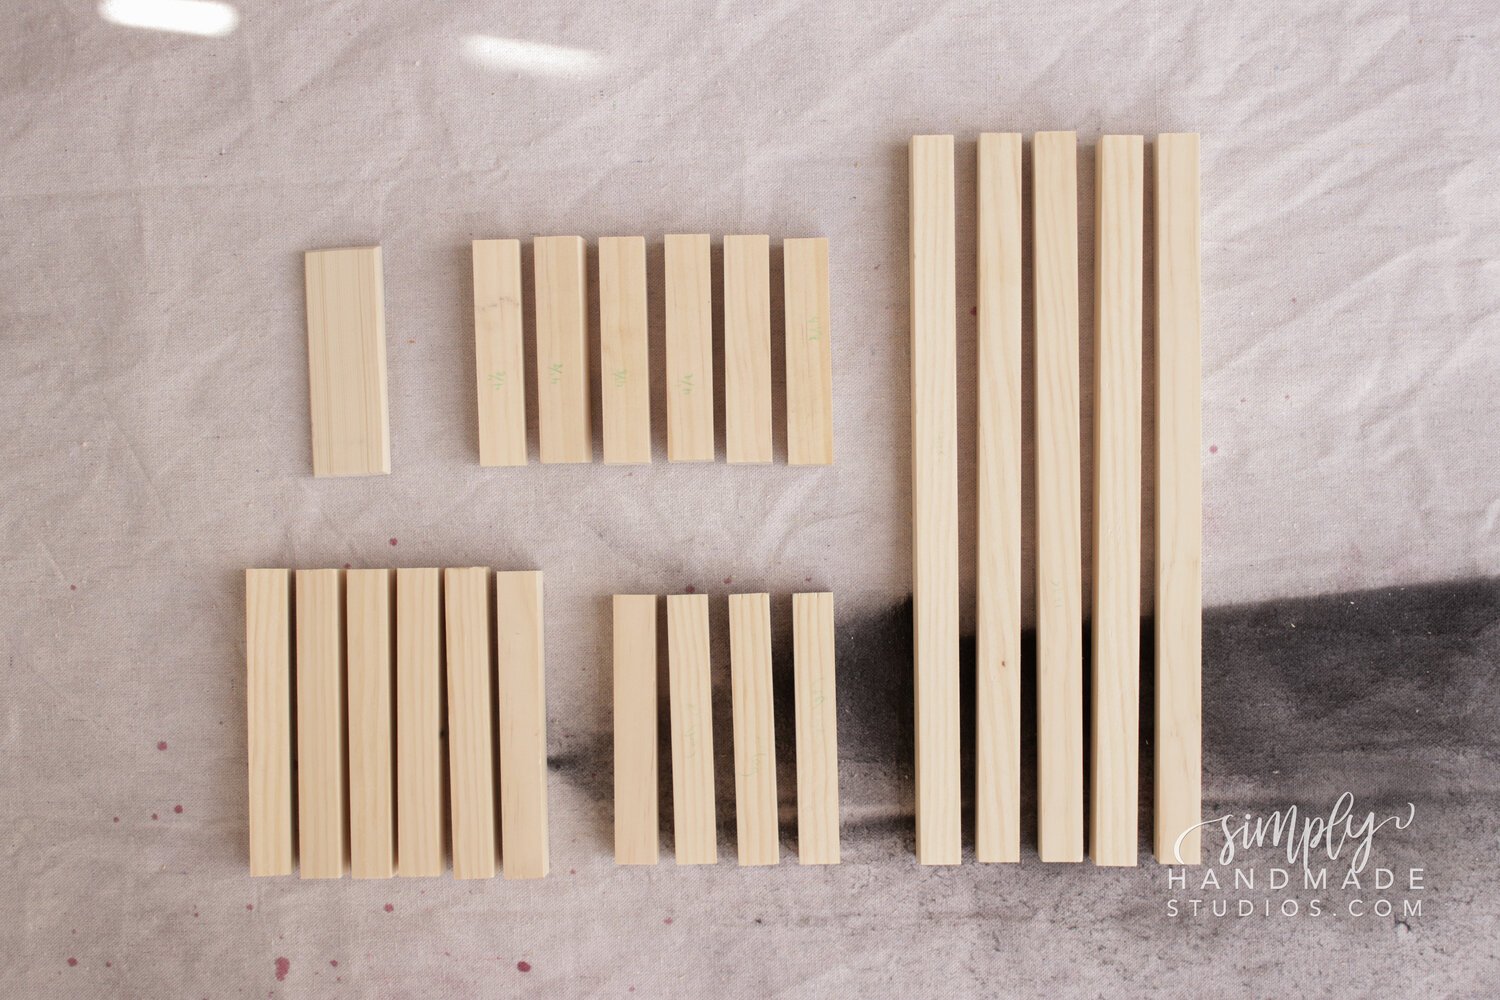
I got dog bowls from HomeGoods, and I really like them because not only are they sturdy, they also have a lip which is what we need in order to place the dog bowl in the stand. I cut my pieces down to the following measurements:
(4) 5” legs
(4) 5 3/8” top for the legs
(4) 13.25” side pieces (miter the ends of these! You’ll see why later on)
(4) bevel cut pieces about 5” tall to match legs
There are a few more pieces shown in the image since I ended up deviating from my original design.
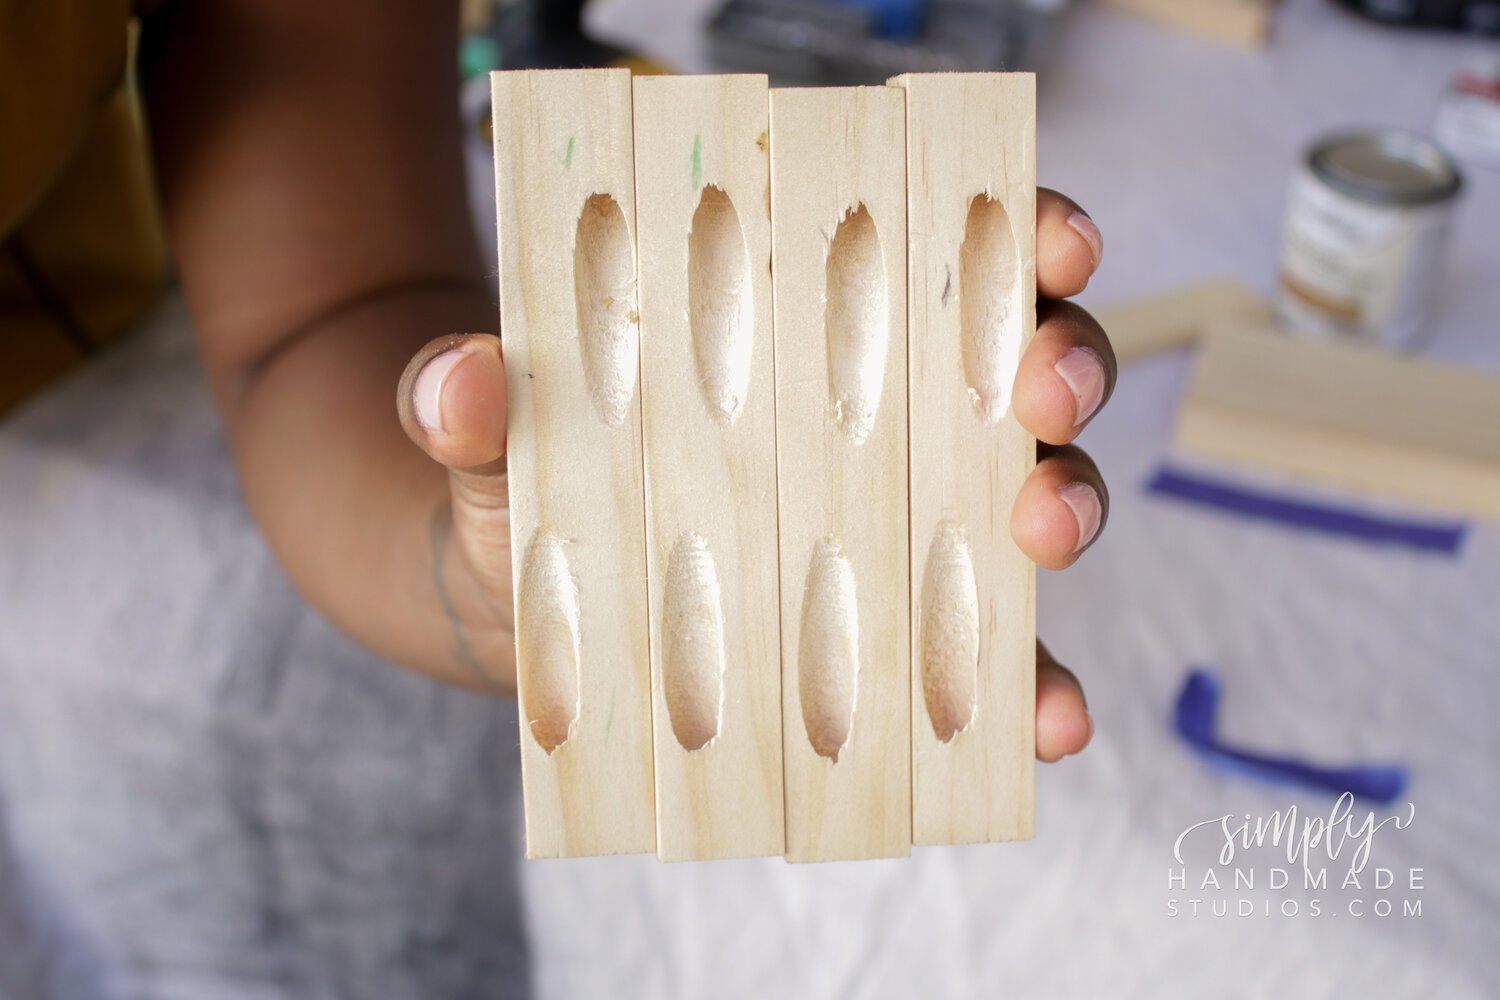

For the legs I made sure to drill some pocket holes at the top and bottom. I use my clamp to clamp down the sides and I’m going to be screwing together and I secured it in place with my pocket hole screws. I repeated the same process for the other side.
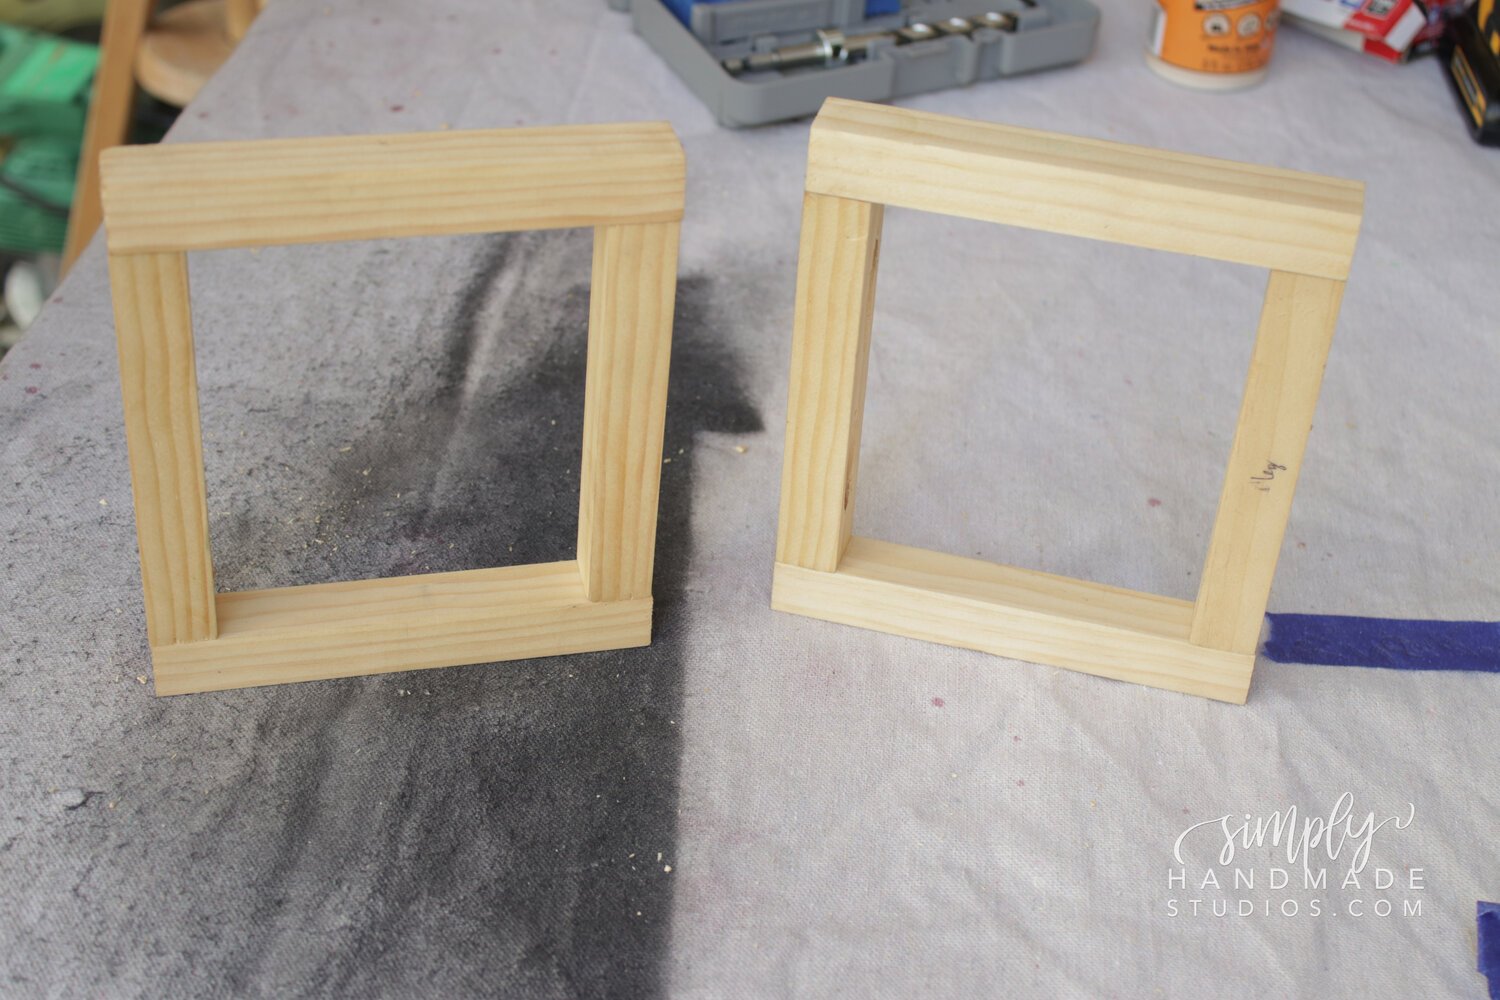
When you assemble the legs, you’ll have something that looks like this. Note: I made sure that the pocket holes were facing the same direction when I was assembling this whole thing.
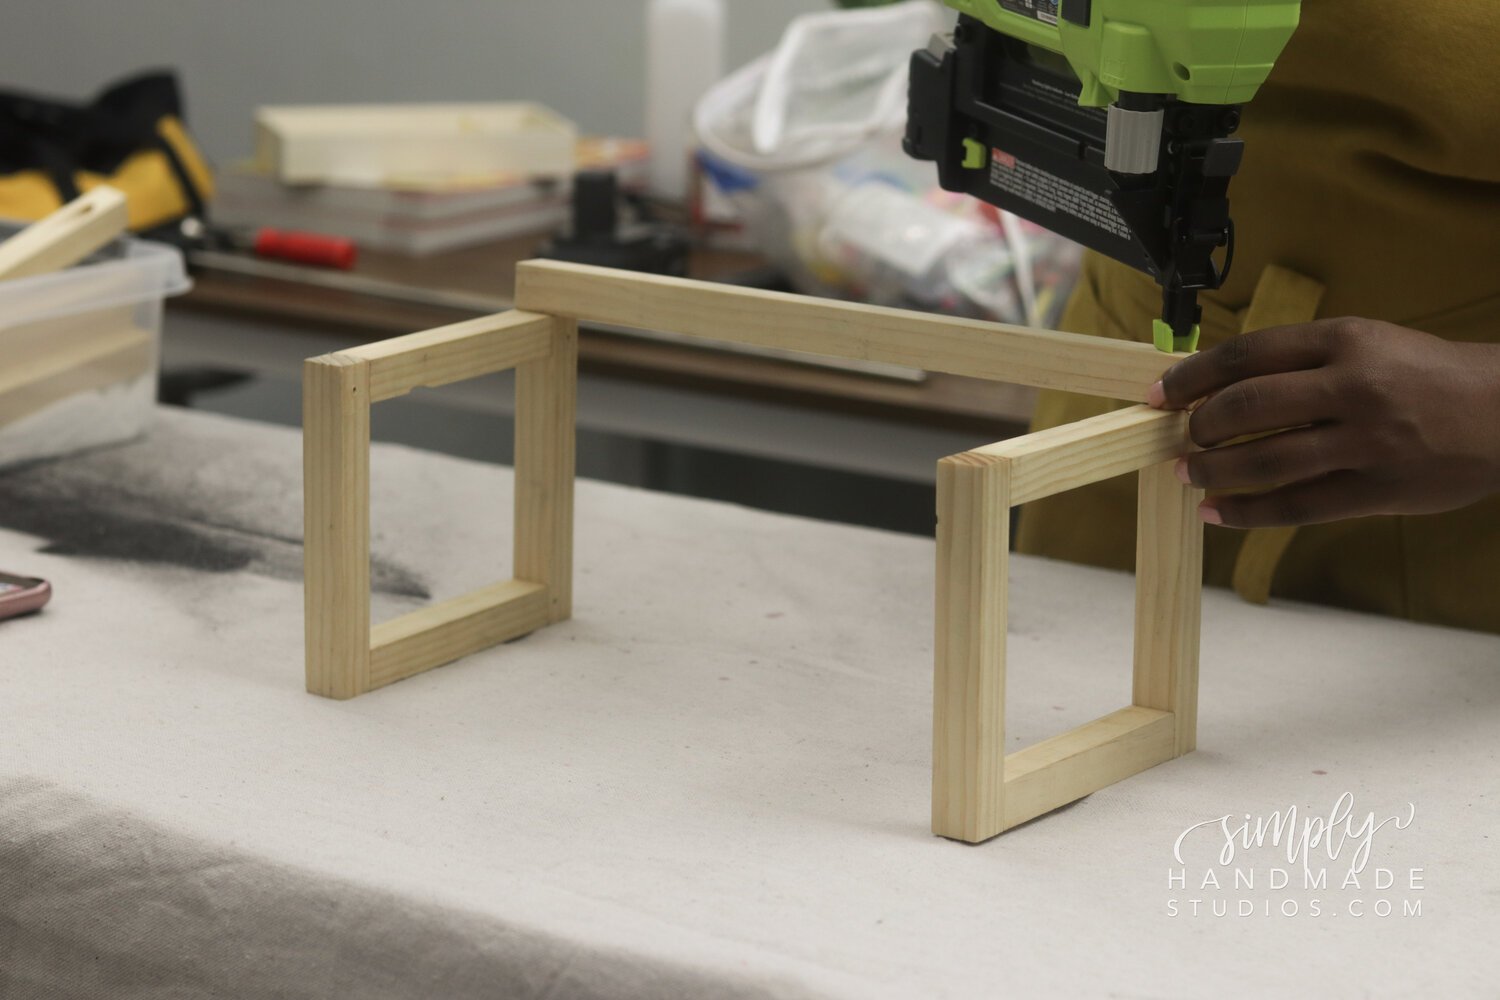
I ran into some issues (watch the video below to see mistakes and how I adapted!!) so later that night I went ahead and assembled the sides with the nail gun. This was the moment of truth to see if the dog bowls fit, and it did!

The next day I cut the ends of each of the corners, because honestly, I did not like the way the stand came out. I wanted the overall design to be smooth and not so abrasive. I opted to bevel cut a piece of scrap wood And then cut it at a 90° angle so I have these cool little triangles that I can add to the side of the pets bowl stand to make the edges a little more smooth.

I went ahead and glued it down and secured it with a Brad nail and repeated that for all four corners. I also measured the center and I put the bowls inside so I know I was putting it in correctly and then I nailed the front and back of that center piece to hold it in place.
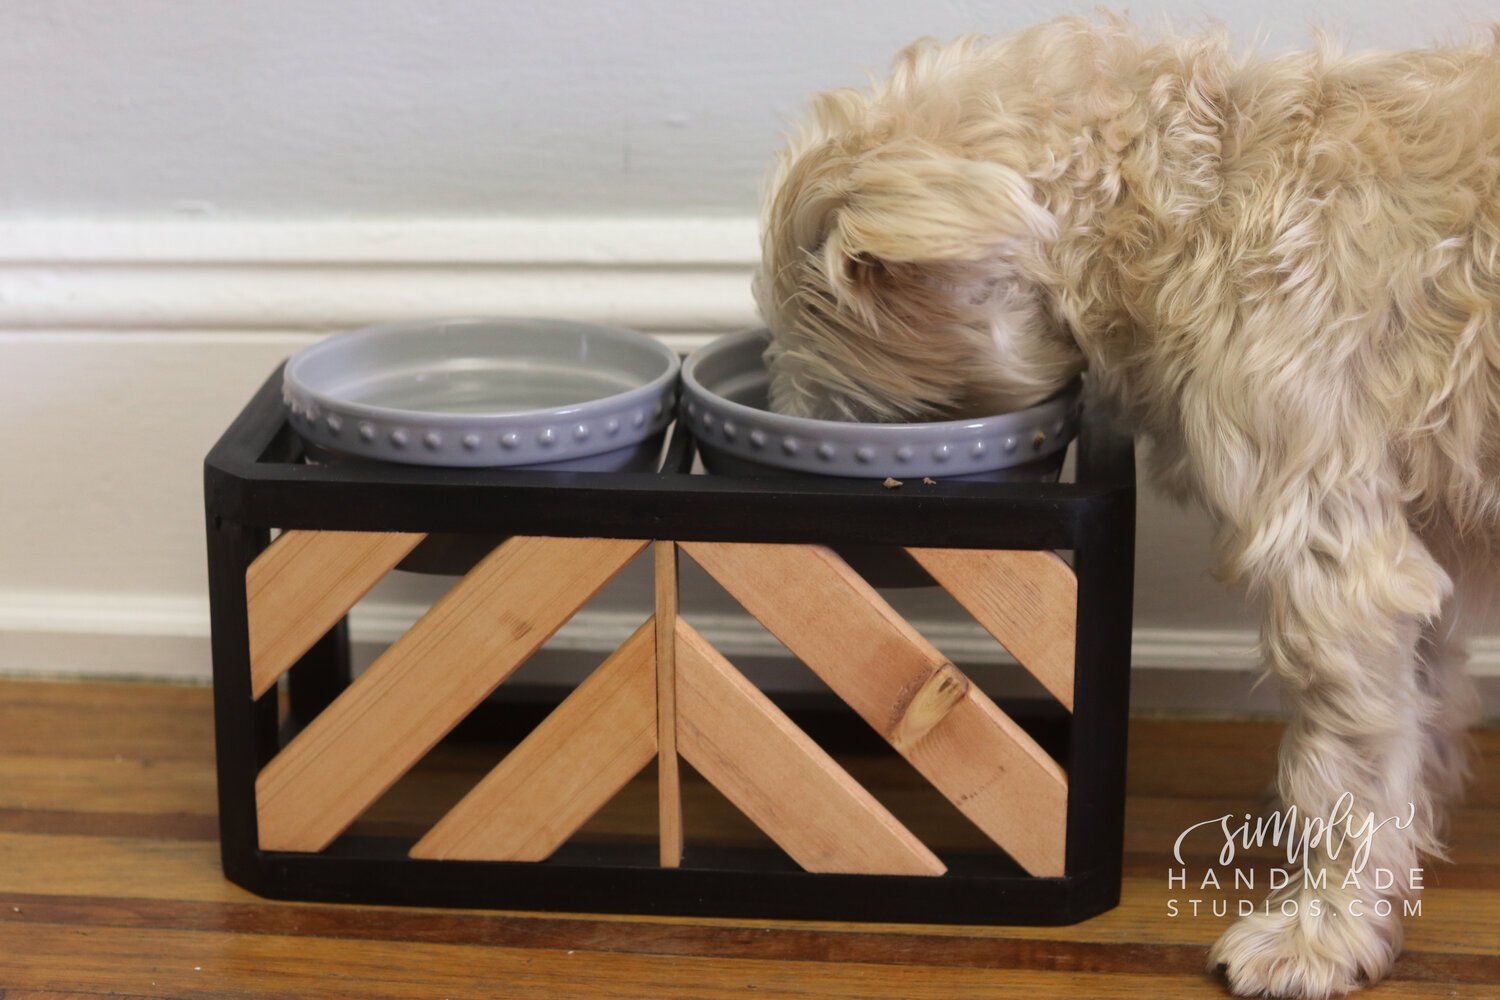
After I was done I sanded everything down and when I finished, I filled in the holes. Once the filler was dry, I painted the stand black and assembled the decorative pieces to the front of the bowl (check out the video if you want to see the assembly).

Ted’s New Meal Plan
I mentioned earlier in the post that Teddy has gained quite a bit of weight, and I started him on a meal plan that will not only help him lose weight, but improve his overall health in general.
If you don’t know what Ollie is, it’s a dog food company who tailors meals for your best friend based on their weight, allergies, and activity levels. When you sign up on their website, there are questions they ask you about your pup - so they can come up with a meal plan based on their pet profile.

What I love most about Ollie is that they use actual human grade food - which you can totally see in the food itself… not fake meat or fillers like wheat and soy, and they’re completely transparent with the ingredients on their website. We opted to use the beef recipe, which I felt would be an easy transition for him, since the kibble he was eating before was beef flavored.

Ollie delivered the food right to our door in about 2 days, and the food was kept frozen solid. The box came with the food, a container and scoop so I can store his food in the refrigerator. I have seen quite a difference in Teddy’s energy level, his teeth, and his coat is nice and shiny. The vet also noticed a difference when we went for his checkup.
If you’re interested in trying Ollie for your BFF, click this link so you can receive 50% off your first order. You won’t be disappointed. Thank you, Ollie for sponsoring this post.
I hope this post not only inspired you to create a dog bowl stand, but also inspired you to take charge of your dog’s diet in order to keep them with you as long as possible.
